In the realm of homemade skincare, melt and pour soap recipes infused with the rich and nourishing properties of shea butter have gained immense popularity. These soaps offer a delightful blend of convenience and customization, allowing you to create personalized bath and body products tailored to your unique preferences.
Shea butter, renowned for its emollient and moisturizing qualities, brings a wealth of benefits to melt and pour soap. Its high concentration of fatty acids and vitamins nourishes and protects the skin, leaving it feeling soft, supple, and revitalized. Whether you’re a seasoned soapmaker or just starting your crafting journey, this guide will provide you with all the essential knowledge and step-by-step instructions to create exquisite melt and pour soap recipes with shea butter.
Introduction
Melt and pour soap is a type of soap that is made by melting a pre-made soap base and adding fragrance, color, and other ingredients. It is a popular choice for beginners because it is easy to make and does not require any special equipment.Shea
butter is a natural fat that is extracted from the nuts of the shea tree. It is rich in vitamins and antioxidants, which makes it a beneficial ingredient for skin care. When added to melt and pour soap, shea butter can help to moisturize and soften the skin.Here
are some examples of shea butter melt and pour soap recipes:
Simple shea butter melt and pour soap
This recipe is made with just a few ingredients, including shea butter, soap base, and fragrance.
Shea butter and honey melt and pour soap
This recipe adds honey to the mix, which helps to create a moisturizing and antibacterial soap.
Shea butter and oatmeal melt and pour soap
This recipe adds oatmeal to the mix, which helps to exfoliate and soothe the skin.
Ingredients and Equipment
Making shea butter melt and pour soap requires specific ingredients and equipment. Gathering and preparing these elements is essential for a successful soap-making process.
The following ingredients are required:
- Shea butter melt and pour soap base
- Essential oils (optional)
- Soap colorants (optional)
- Soap molds
The necessary equipment includes:
- Microwave or double boiler
- Mixing bowls
- Spoons or spatulas
- Measuring cups and spoons
- Thermometer (optional)
Preparing the Ingredients
To prepare the ingredients, measure and gather all necessary materials. If using essential oils or soap colorants, ensure they are of high quality and suitable for soap making.
Preparing the Equipment
Ensure all equipment is clean and dry. If using a microwave, place a glass measuring cup or microwave-safe bowl inside to prevent splattering. If using a double boiler, fill the bottom pot with water and bring it to a simmer.
Step-by-Step s
Preparing the Materials
Begin by gathering all the necessary materials, including the shea butter, soap base, fragrance oils, molds, and a microwave or double boiler. Ensure the work area is clean and well-ventilated.
Melting the Soap Base
Place the soap base in a microwave-safe bowl or a double boiler and heat it until it melts completely. Be careful not to overheat the soap base, as this can cause it to burn and ruin the soap.
Adding the Shea Butter
Once the soap base is melted, add the shea butter to the bowl and stir until it is completely combined. The amount of shea butter you add will depend on the desired consistency of the soap. For a softer soap, add more shea butter.
For a harder soap, add less shea butter.
Adding Fragrance Oils
If desired, you can add fragrance oils to the soap at this point. Add a few drops of your favorite fragrance oil and stir until it is well combined.
Pouring the Soap into Molds
Pour the melted soap into the molds and tap the molds gently to remove any air bubbles. Allow the soap to cool and harden completely. This may take several hours or overnight.
Unmolding the Soap
Once the soap has hardened, unmold it by gently pushing it out of the molds. The soap is now ready to use or store.
Customization Options
Melt and pour soap made with shea butter offers a great base for customization, allowing you to create unique and personalized bars.
Experiment with different scents, colors, and additives to create soaps that are tailored to your preferences and needs.
Scents
- Essential oils: Add a few drops of your favorite essential oils, such as lavender, peppermint, or eucalyptus, to create a relaxing, invigorating, or decongesting soap.
- Fragrance oils: Use fragrance oils specifically designed for soap making to achieve a wide range of scents, from fruity to floral to spicy.
Colors
- Soap colorants: Liquid or powdered soap colorants can be added to create vibrant or subtle hues.
- Natural colorants: Use natural ingredients like turmeric for yellow, paprika for orange, or activated charcoal for black.
Additives
- Exfoliants: Add ground oatmeal, coffee grounds, or sugar to create a soap that exfoliates and removes dead skin cells.
- Moisturizers: Enhance the moisturizing properties of your soap by adding ingredients like honey, aloe vera, or shea butter.
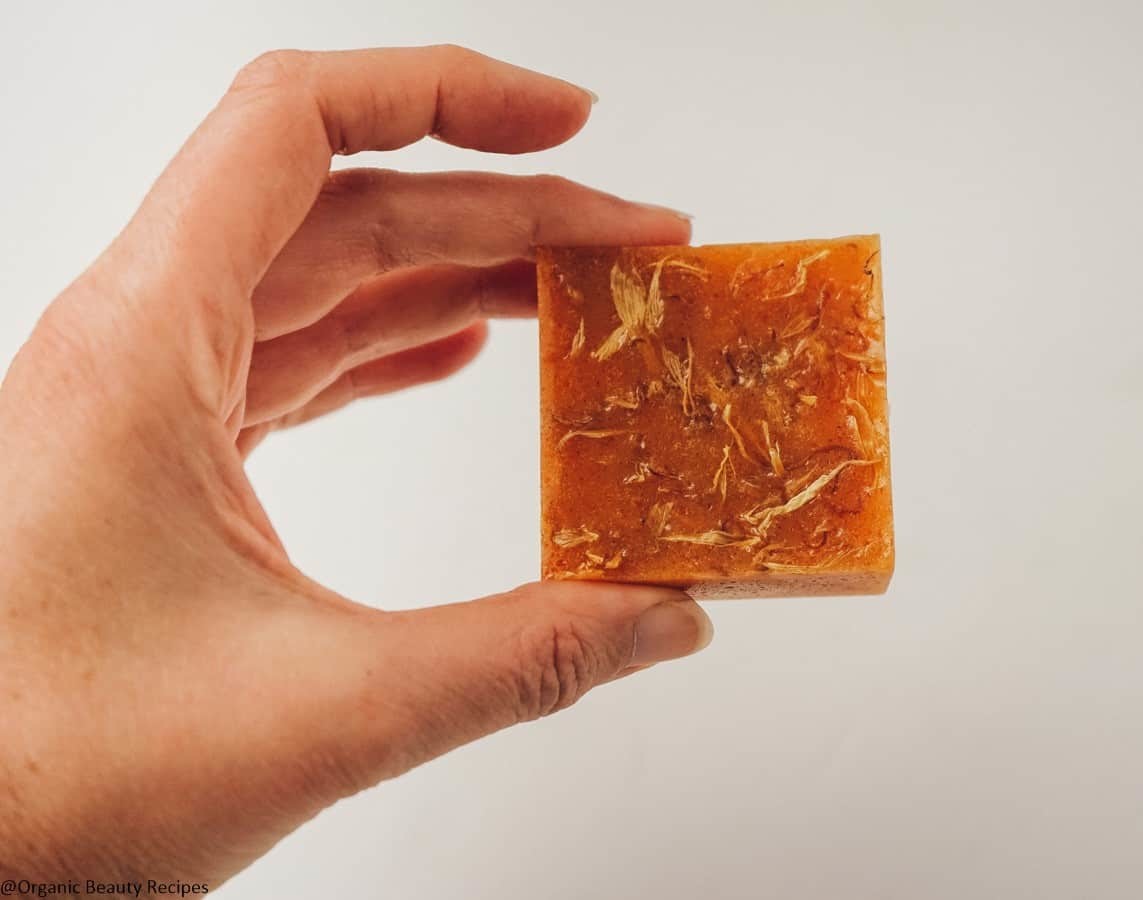
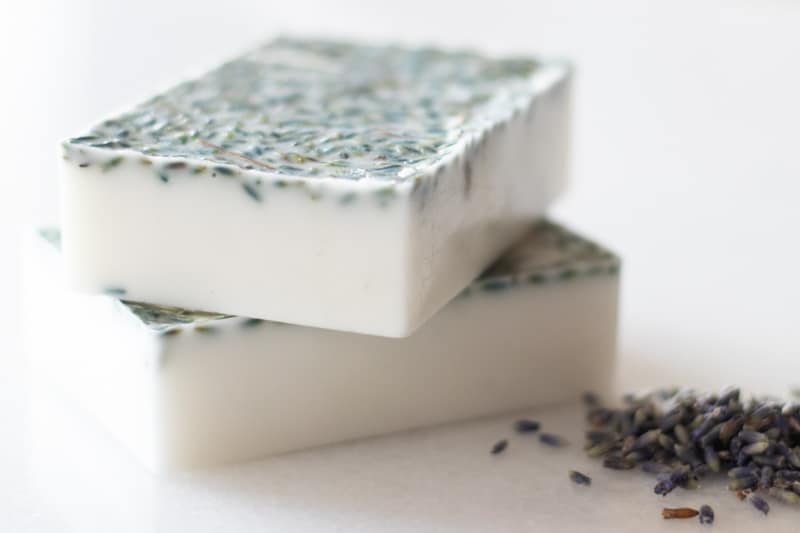
- Botanicals: Infuse your soap with dried herbs or flowers, such as lavender buds or rose petals, for added fragrance and aesthetic appeal.
Packaging and Storage

To preserve the quality and efficacy of your shea butter melt and pour soap, proper packaging and storage are essential.
Here are some guidelines to ensure optimal preservation:
Packaging
- Choose airtight containers: Prevent moisture and air exposure by using sealed containers such as plastic bags, glass jars, or soap boxes.
- Consider opaque materials: Protect the soap from direct sunlight, which can degrade its properties.
Storage
- Store in a cool, dry place: Avoid extreme temperatures and humidity to prevent melting or discoloration.
- Keep away from heat sources: Place the soap away from direct heat sources like stoves or heaters.
Shelf Life
Properly stored shea butter melt and pour soap can last up to 12 months. However, the presence of natural ingredients may shorten the shelf life.
Conclusion

As you embark on your melt and pour soap-making adventure with shea butter, you’ll discover a world of endless possibilities. Experiment with different scents, colors, and additives to create unique and personalized soap bars that cater to your every need.
Whether you’re looking to create a gentle and nourishing soap for sensitive skin or a luxurious and fragrant bar for a special occasion, the versatility of melt and pour soap with shea butter makes it the perfect choice. So gather your ingredients, prepare your equipment, and let your creativity flow as you craft exceptional melt and pour soaps infused with the goodness of shea butter.
FAQ Section
What is the recommended amount of shea butter to use in melt and pour soap recipes?
The ideal proportion of shea butter in melt and pour soap recipes typically ranges from 5% to 20%. This range allows for a balance between the nourishing properties of shea butter and the overall texture and performance of the soap.
Can I add essential oils to melt and pour soap recipes with shea butter?
Yes, you can certainly incorporate essential oils into your melt and pour soap recipes with shea butter. Essential oils offer a wide range of therapeutic and aromatic benefits, allowing you to customize the scent and properties of your soap. However, it’s important to use essential oils sparingly, typically around 1-2% of the total weight of the soap, to avoid overpowering the natural aroma of shea butter.
How long does melt and pour soap with shea butter typically last?
The shelf life of melt and pour soap with shea butter can vary depending on factors such as the quality of the ingredients, storage conditions, and the presence of perishable additives. Generally, well-made melt and pour soap with shea butter can last for several months if stored in a cool, dry place away from direct sunlight.
