:max_bytes(150000):strip_icc()/waffle-cones-10-32ce805bc4004ba78bd9aadf23745939.jpg?w=1500&resize=1500,1001)
Step into a world of delightful flavors and crispy textures with our irresistible ice cream waffle cone recipe. Embark on a culinary journey where the sweetness of ice cream meets the delicate crunch of freshly made waffle cones. Prepare to tantalize your taste buds and create a dessert experience like no other.
Our comprehensive guide will take you through the process of crafting perfect waffle cones, from gathering the necessary ingredients to shaping and baking them to perfection. We’ll also explore creative variations, serving suggestions, and tips for achieving the ultimate ice cream cone experience.
Ingredients for Ice Cream Waffle Cone
Creating delicious and crispy waffle cones for your ice cream is an enjoyable and rewarding experience. The key to success lies in understanding the purpose and quantity of each ingredient.
Our recipe calls for all-purpose flour, sugar, salt, butter, eggs, and milk. Each ingredient plays a specific role in achieving the perfect texture and flavor:
Flour
- Provides the structure and body to the cone.
- Gluten-free alternative: Almond flour or coconut flour
Sugar
- Adds sweetness and helps the cone caramelize for a golden-brown color.
- Healthier option: Reduce sugar by half or use natural sweeteners like honey or maple syrup.
Salt
- Enhances the flavor and balances the sweetness.
- Omit for a vegan option.
Butter
- Adds richness and tenderness to the cone.
- Vegan alternative: Coconut oil or vegan butter
Eggs
- Bind the ingredients together and provide structure.
- Vegan alternative: Flax eggs (1 tbsp ground flaxseed + 3 tbsp water)
Milk
- Creates a smooth batter and helps the cone rise.
- Vegan alternative: Plant-based milk (almond milk, soy milk)
Step-by-Step Guide to Make Ice Cream Waffle Cone
Mixing the Batter
In a large bowl, whisk together the flour, sugar, salt, and baking powder.
In a separate bowl, whisk together the milk, eggs, and melted butter.
Gradually add the wet ingredients to the dry ingredients, whisking until just combined.
Cooking the Waffles
Heat a waffle iron according to the manufacturer’s instructions.
Pour about 1/4 cup of batter onto the center of the waffle iron.
Close the waffle iron and cook for 2-3 minutes, or until golden brown.
Shaping the Cones
Immediately after cooking, remove the waffle from the waffle iron and wrap it around a cone-shaped mold or rolling pin.
Hold the cone in place for a few seconds to allow it to set.
Let the cones cool completely before filling them with ice cream.
Serving and Presentation
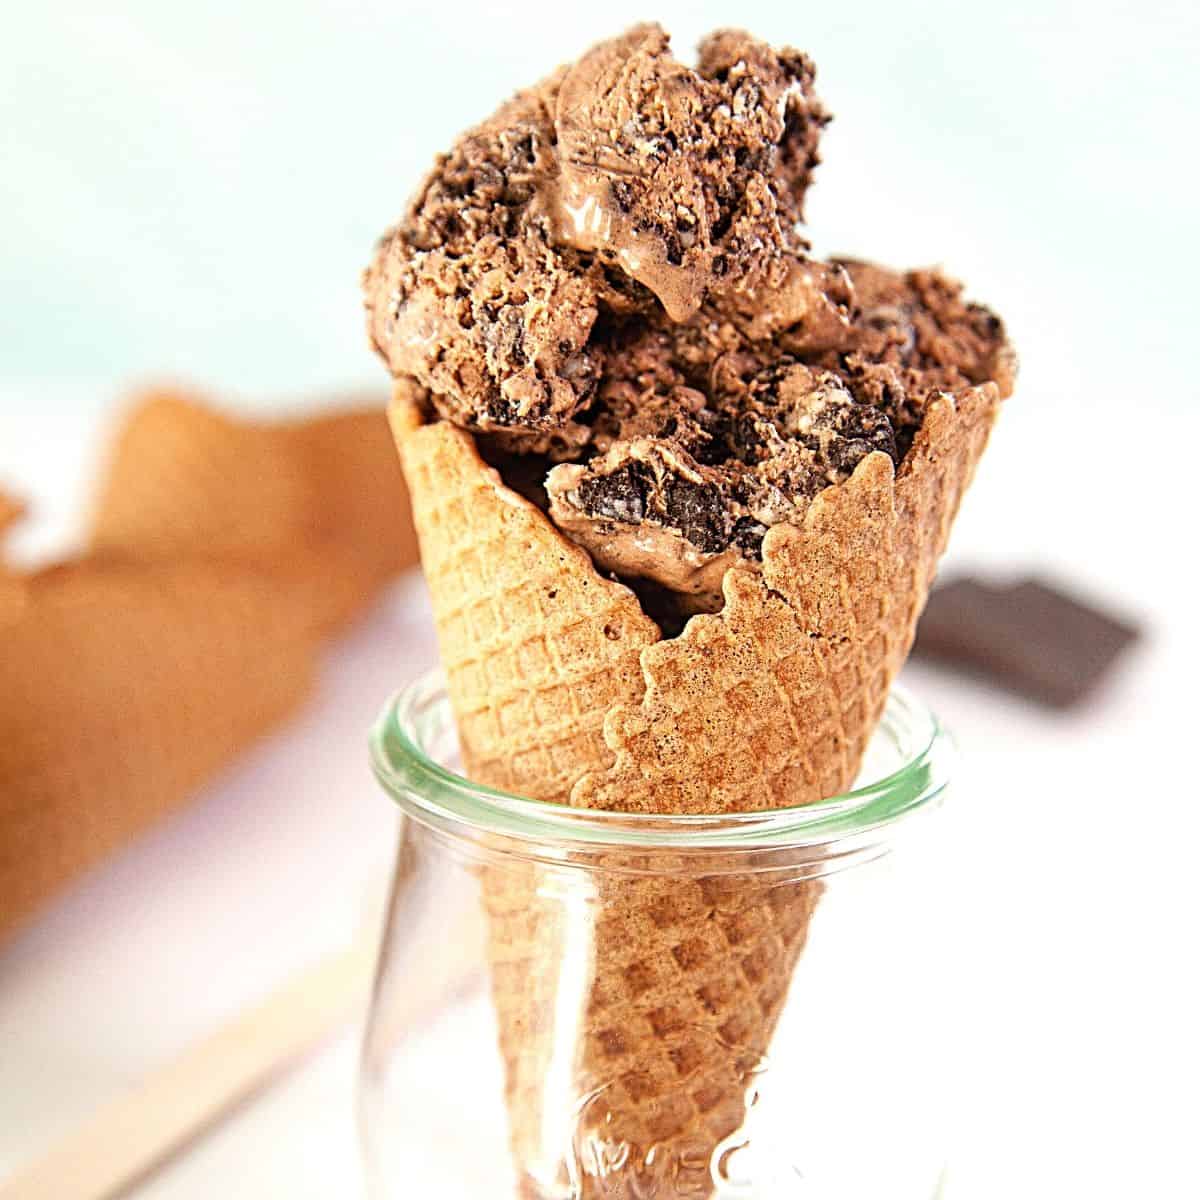
Serving ice cream waffle cones effectively enhances the overall experience. Carefully place a generous scoop of ice cream on top of the waffle cone, ensuring it is centered and balanced. If desired, add additional scoops to create a towering cone.
For a classic presentation, drizzle chocolate sauce, caramel sauce, or whipped cream over the ice cream. Sprinkle colorful sprinkles, chopped nuts, or chocolate chips for a touch of sweetness and texture.
Creative Presentation Techniques
To make the ice cream waffle cones more visually appealing, consider the following creative presentation techniques:
- Ice Cream Cone Tower: Arrange several waffle cones vertically, stacking them on top of each other. Add scoops of ice cream to each cone, creating a tower of sweet treats.
- Waffle Cone Sundae: Place a waffle cone upside down on a plate. Add a scoop of ice cream on top of the cone and decorate with whipped cream, chocolate sauce, and chopped nuts.
- Waffle Cone Bouquet: Arrange several waffle cones in a vase or jar. Fill each cone with ice cream and decorate with colorful sprinkles, edible flowers, or small candies.
- Waffle Cone Charcuterie Board: Create a dessert charcuterie board with a variety of ice cream flavors, toppings, and waffle cones. Allow guests to customize their own cones with their favorite combinations.
- Waffle Cone Ice Cream Sandwich: Place a scoop of ice cream between two waffle cones, creating a delicious ice cream sandwich. Drizzle chocolate sauce or caramel sauce over the sandwich for added indulgence.
Tips and Troubleshooting
Achieving crispy and delicious waffle cones requires attention to detail and some helpful tips. Here are some guidelines to ensure success:
Preheat the waffle iron properly
Allow the waffle iron to preheat thoroughly before pouring the batter. This helps create a crispy outer shell while keeping the inside soft and fluffy.
Use the right batter consistency
The batter should be thick enough to coat the back of a spoon but not too thick that it’s difficult to pour. If the batter is too thin, the cones will be flimsy and won’t hold their shape.
Pour the batter evenly
When pouring the batter onto the hot waffle iron, spread it out evenly to ensure a uniform thickness. This will help the cone cook evenly and prevent uneven browning.
Don’t overcook the cones
Keep an eye on the waffle cones as they cook. Overcooking can make them dry and brittle. Cook them until they are golden brown and crispy, but not burnt.
Use a cone roller immediately
Once the cones are cooked, remove them from the waffle iron and quickly roll them around a cone roller or a wooden spoon handle. This helps shape the cones and prevents them from cracking.
Common Problems and Solutions
During the preparation of waffle cones, certain issues may arise. Here are some common problems and their solutions:
Cones are too soft
If the cones are not crispy enough, it could be due to insufficient cooking time or using a batter that is too thin. Make sure to preheat the waffle iron properly, cook the cones until they are golden brown, and use a thicker batter consistency.
Cones are too hard
Overcooking the cones can make them hard and brittle. Be careful not to overcook them and remove them from the waffle iron as soon as they are golden brown.
Cones crack when rolling
If the cones crack when you try to roll them, it could be because they are too hot or the batter is too thick. Allow the cones to cool slightly before rolling them, and use a thinner batter consistency.
Cones don’t hold their shape
If the cones don’t hold their shape after rolling, it could be because the batter is too thin or the cones were not cooked long enough. Use a thicker batter consistency and cook the cones until they are crispy and golden brown.
Nutritional Information
:max_bytes(150000):strip_icc()/waffle-cones-10-32ce805bc4004ba78bd9aadf23745939.jpg "ice cream waffle cone recipe terbaru")
The nutritional composition of the ice cream waffle cone recipe varies depending on the specific ingredients used and the serving size. However, a typical ice cream waffle cone contains a moderate amount of calories and carbohydrates, along with some fat and protein.
The main contributors to the calorie content are the waffle cone itself, which is typically made with refined flour and sugar, and the ice cream filling, which is typically high in sugar and fat.
Macronutrients
The macronutrient breakdown of an ice cream waffle cone typically consists of:
- Carbohydrates: The primary macronutrient in an ice cream waffle cone, primarily derived from the refined flour and sugar used in the waffle cone.
- Fats: The ice cream filling is typically high in saturated and unsaturated fats, contributing to the overall fat content of the cone.
- Protein: A relatively small amount of protein is present, primarily from the eggs and milk used in the waffle cone batter and the ice cream filling.
Potential Allergens
Common potential allergens in an ice cream waffle cone include:
- Dairy: The ice cream filling typically contains milk, cream, and other dairy products, which can be allergenic to individuals with lactose intolerance or dairy allergies.
- Wheat: The waffle cone is typically made with refined flour, which contains gluten, a protein that can trigger an allergic reaction in individuals with celiac disease or gluten sensitivity.
- Eggs: The waffle cone batter and the ice cream filling may contain eggs, which can be allergenic to individuals with egg allergies.
Storage and Preservation
Maintaining the freshness and quality of leftover waffle cones is essential to ensure their enjoyment later. Several methods can be employed to effectively store and preserve these delectable treats:
Storing at Room Temperature:
- Place the waffle cones in an airtight container to prevent moisture and air from entering.
- Store the container in a cool and dry location, away from direct sunlight.
- Waffle cones can be stored at room temperature for up to 2 days.
Freezing for Extended Storage:
- Wrap each waffle cone individually in plastic wrap or aluminum foil.
- Place the wrapped cones in a freezer-safe bag or container.
- Label the bag or container with the date of storage.
- Waffle cones can be frozen for up to 2 months.
Tips for Preserving Waffle Cones:
- Avoid storing waffle cones in humid environments, as moisture can cause them to become soft and lose their crispiness.
- If you plan to store waffle cones for an extended period, consider freezing them to maintain their freshness and prevent staleness.
- When freezing waffle cones, ensure they are completely cool before wrapping and storing them.
- Thaw frozen waffle cones at room temperature before serving.
Creative Uses for Waffle Cones
Waffle cones are not just limited to serving ice cream. Their unique shape and crispy texture make them versatile culinary tools that can elevate various dishes. From sweet treats to savory snacks, explore creative ways to use waffle cones beyond their traditional purpose.
Waffle cones add a delightful crunch and visual appeal to desserts. They can be used to create edible cups or bowls for mousse, pudding, or fruit salads. Fill them with layers of yogurt, granola, and berries for a healthy parfait.
Dip the rims in melted chocolate or caramel and sprinkle with chopped nuts or crushed cookies for an extra indulgent touch.
Savory Snacks
Waffle cones can also be incorporated into savory dishes. Use them as crispy dippers for guacamole, hummus, or salsa. Fill them with savory fillings like tuna salad, chicken salad, or egg salad for a quick and portable lunch. Wrap them around cheese sticks or mozzarella sticks for a fun and crispy appetizer.
Waffle cones can even be used to make savory cones filled with mashed potatoes, chili, or taco meat.
Desserts
Waffle cones can be transformed into sweet treats with a little creativity. Dip them in melted chocolate or caramel and sprinkle with chopped nuts, crushed cookies, or candy pieces for a quick and easy dessert. Use them to make ice cream sandwiches by sandwiching a scoop of ice cream between two waffle cones.
Waffle cones can also be used to create cake pops by dipping them in melted chocolate and decorating them with sprinkles or edible glitter.
Final Conclusion
As you indulge in the delightful combination of ice cream and waffle cone, let the symphony of flavors dance on your palate. Savor each bite, appreciating the crispy texture of the cone and the creamy smoothness of the ice cream.
Remember, the best waffle cones are the ones made with love and attention to detail. So gather your ingredients, preheat your waffle iron, and let’s embark on this sweet adventure together.
FAQs
Q: Can I make gluten-free or vegan waffle cones?
A: Absolutely! Our recipe includes variations for gluten-free and vegan waffle cones, ensuring everyone can enjoy this delectable treat. Simply substitute regular flour with gluten-free flour and use plant-based milk and butter alternatives.
Q: How do I achieve crispy waffle cones?
A: The key to crispy waffle cones lies in the cooking temperature and timing. Preheat your waffle iron to the highest setting and cook each cone for the recommended time. Avoid overcooking, as this can result in dry and brittle cones.
Q: Can I store leftover waffle cones?
A: Yes, you can store leftover waffle cones in an airtight container at room temperature for up to 3 days. For longer storage, place them in a freezer-safe bag and freeze for up to 2 months. When ready to use, thaw them at room temperature before filling them with ice cream.