
Embark on a culinary adventure with our comprehensive guide to pie pastry. From the art of crafting the perfect dough to shaping, baking, and filling, we’ll unveil the secrets to creating delectable pies that will tantalize your taste buds.
With a focus on both the technical aspects and the creative possibilities, this guide empowers you to master the techniques and unleash your imagination, transforming simple ingredients into extraordinary culinary masterpieces.
Pie Pastry Dough
Pie pastry dough is the foundation of a good pie. It should be flaky, tender, and flavorful. There are many different types of pie pastry dough, each with its own unique flavor and texture. The most common types of pie pastry dough are:
Shortcrust Pastry
Shortcrust pastry is the most basic type of pie pastry dough. It is made with flour, butter, and water. Shortcrust pastry is flaky and tender, with a slightly crumbly texture. It is a good all-purpose pie pastry dough that can be used for both sweet and savory pies.
Flaky Pastry
Flaky pastry is made with flour, butter, and water, but it also contains a small amount of sugar. The sugar helps to create a more flaky texture. Flaky pastry is a good choice for pies that will be filled with fruit or cream.
Puff Pastry
Puff pastry is made with flour, butter, and water, but it is also rolled and folded several times to create a flaky, layered texture. Puff pastry is a good choice for pies that will be baked at a high temperature.
How to Make Pie Pastry Dough
Making pie pastry dough is not difficult, but it does require a little bit of practice. The key is to keep the ingredients cold and to work quickly.To make pie pastry dough, you will need:
- 1 1/2 cups all-purpose flour
- 1/2 teaspoon salt
- 1 cup (2 sticks) cold unsalted butter, cut into small pieces
- 1/2 cup ice water
Instructions:
- In a large bowl, whisk together the flour and salt.
- Add the butter to the flour and use your fingers to work it into the flour until the mixture resembles coarse crumbs.
- Add the ice water 1 tablespoon at a time, mixing until the dough just comes together. Do not overmix.
- Form the dough into a ball, wrap it in plastic wrap, and refrigerate for at least 30 minutes before rolling out.
Once the dough is chilled, it is ready to be rolled out. On a lightly floured surface, roll out the dough to a thickness of about 1/8 inch. Transfer the dough to a pie plate and trim the edges. Fill the pie with your desired filling and bake according to the recipe directions.
Rolling and Shaping Pie Pastry
Mastering the art of rolling and shaping pie pastry is crucial for achieving flaky, golden-brown crusts. This section will delve into the techniques and tips for rolling and shaping pie pastry, ensuring that your pies turn out perfect every time.
Rolling Pie Pastry
To roll pie pastry, begin by lightly flouring a clean surface and the rolling pin. Divide the pastry into two equal portions and wrap one portion in plastic wrap. Lightly flour the remaining portion and place it on the floured surface.
Using the rolling pin, gently roll the pastry out into a circle, applying even pressure. Roll from the center outward, lifting and rotating the pastry occasionally to prevent it from sticking.
Continue rolling until the pastry is about 12 inches in diameter and 1/8 inch thick. If the pastry becomes too soft or sticky, wrap it in plastic wrap and refrigerate for 30 minutes before continuing.
Shaping Pie Pastry
Once the pastry is rolled out, it’s time to shape it for your desired pie. Here are the most common shaping techniques:
- Single-Crust Pie: For a single-crust pie, simply transfer the rolled-out pastry to a pie plate and trim the edges.
- Double-Crust Pie: For a double-crust pie, cut the rolled-out pastry into two equal circles. Transfer one circle to the pie plate and trim the edges. Fill the pie with your desired filling, then cover with the remaining pastry circle and seal the edges.
- Lattice Crust: For a lattice crust, cut the rolled-out pastry into strips. Weave the strips together over the filling, creating a lattice pattern.
- Crimped Crust: To create a crimped crust, moisten the edges of the pastry with water. Fold the edges over and use your fingers to crimp them together, creating a decorative border.
Tips for Preventing Pie Pastry from Tearing or Shrinking
To prevent pie pastry from tearing or shrinking during baking, follow these tips:
- Use cold butter or shortening when making the pastry.
- Work the pastry as little as possible.
- Chill the pastry before rolling it out.
- Roll the pastry out on a lightly floured surface.
- Do not over-roll the pastry.
- If the pastry tears, simply patch it up with a small piece of dough.
- If the pastry shrinks, trim the edges and re-roll it.
Blind Baking Pie Pastry
Blind baking is a technique used to pre-bake pie pastry without filling. It ensures that the pastry is fully cooked and crispy before adding the filling, preventing soggy bottoms and ensuring an even bake.
Materials for Blind Baking:
- Pie dough
- Parchment paper
- Pie weights or dried beans
Step-by-Step Blind Baking Instructions:
- Roll out the pie dough and line a pie plate.
- Trim the edges and fold under, crimping as desired.
- Line the pie dough with parchment paper.
- Fill the parchment paper with pie weights or dried beans.
- Bake in a preheated oven at 350-375°F (175-190°C) for 15-20 minutes, or until the edges are golden brown and the center is set.
- Remove the pie weights and parchment paper and continue baking for another 5-10 minutes, or until the bottom is completely dry and golden brown.
Methods for Weighting Down Pie Pastry:
- Pie weights: These are reusable ceramic or metal weights specifically designed for blind baking.
- Dried beans: Dried beans, such as chickpeas or lentils, are a cost-effective alternative to pie weights. However, they cannot be reused.
- Sugar: Sugar can be used as a weighting agent, but it must be removed before filling the pie as it can burn.
Filling and Baking Pie Pastry
The final steps in creating a perfect pie involve filling and baking the pastry. The choice of filling and the baking temperature are crucial for achieving a well-balanced and flavorful dessert.
Choosing the Right Filling
Pie fillings can be broadly classified into two types: fruit and savory. Fruit fillings are typically made with fresh or frozen fruits, sugar, and thickeners like cornstarch or flour. Savory fillings include meats, vegetables, and cheeses, often combined with a flavorful sauce or gravy.
| Filling Type | Ideal Baking Temperature |
|---|---|
| Fruit | 350-375°F (175-190°C) |
| Savory (meat-based) | 375-400°F (190-205°C) |
| Savory (vegetable-based) | 350-375°F (175-190°C) |
Filling and Baking the Pie
To fill the pie, spoon the prepared filling into the bottom crust, leaving a 1-inch border around the edges. Dot the filling with butter or spread with a glaze to enhance flavor. Place the top crust over the filling and trim the edges, crimping or fluting to seal.
Brush the crust with milk or an egg wash for a golden-brown finish.
Bake the pie according to the recommended temperature and time for the chosen filling type. For a double-crust pie, cover the edges with foil for the first 15-20 minutes of baking to prevent over-browning. Remove the foil and continue baking until the crust is golden brown and the filling is bubbling.
Troubleshooting Common Problems
- Soggy Bottom Crust: Ensure the bottom crust is fully baked before adding the filling. Preheat the oven and baking sheet thoroughly.
- Overcooked Crust: Reduce the baking temperature or cover the edges with foil to prevent burning.
- Filling Overflowing: Use a larger pie dish or trim the excess filling before baking.
- Runny Filling: Use the correct amount of thickener and cook the filling until it reaches a thick consistency.
Decorative Techniques for Pie Pastry
Showcase your culinary prowess with a variety of decorative techniques for pie pastry. From intricate crimping to elegant latticework, these methods will transform your pies into edible masterpieces.
Crimping
Crimping involves pinching the edges of the pie crust together to seal and decorate them. To create a classic crimp, gently fold the edges of the crust over each other, then press down with the tines of a fork to create a series of indentations.
Fluting
Fluting adds a touch of sophistication to pie crusts. To flute, use your thumb and forefinger to gently press and fold the edge of the crust over itself, creating a series of decorative scallops.
Latticework
Latticework is a visually stunning technique that involves weaving strips of pie dough over each other. To create a lattice, cut the dough into thin strips, then arrange them perpendicular to each other on top of the pie filling. Fold the strips over each other, alternating the top and bottom strips to create a crisscross pattern.
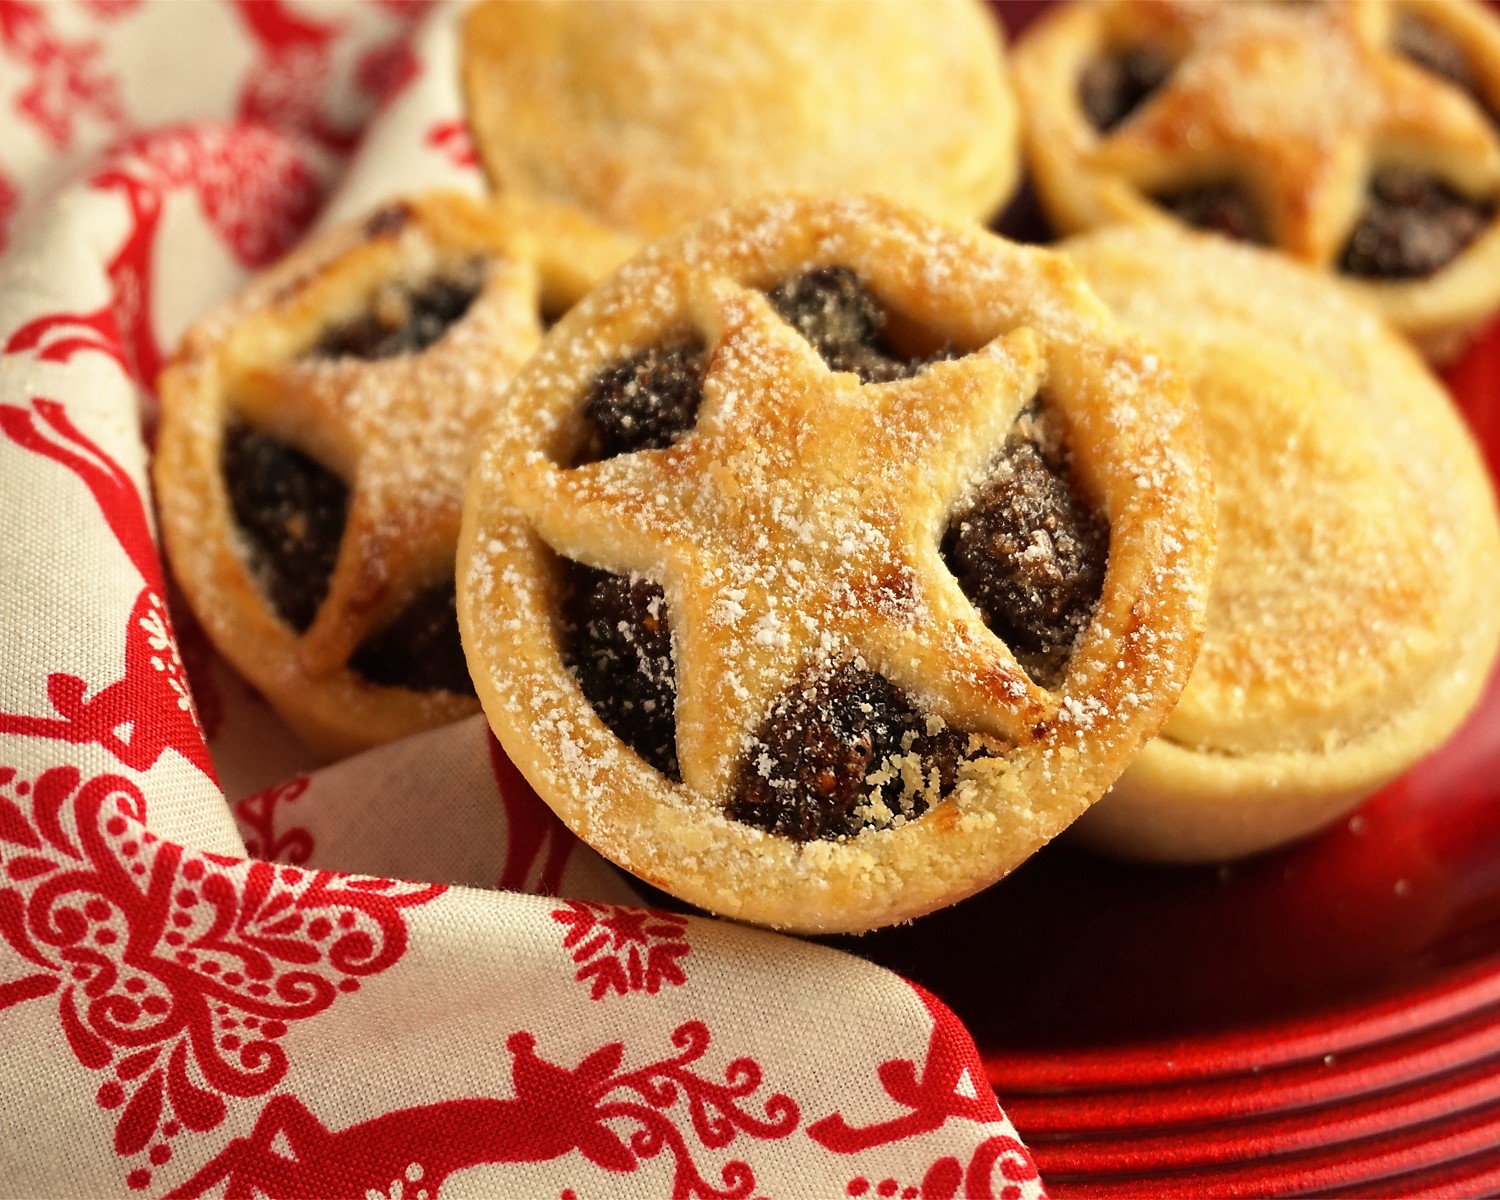
Cookie Cutters and Other Tools
Cookie cutters and other tools can be used to create unique and eye-catching pie crust designs. Use cookie cutters to cut out shapes from the dough, then arrange them on top of the pie. You can also use a pastry wheel or knife to create decorative patterns or borders.
Closure

As you embark on your pie-making journey, remember that the pursuit of perfection is an ongoing process. Embrace the learning curve, experiment with different flavors and techniques, and let your passion for baking guide you. With each pie you create, you’ll refine your skills and create memories that will last a lifetime.
FAQ Summary
What is the secret to a flaky pie crust?
The key lies in keeping the ingredients cold and working the dough as little as possible. This prevents the gluten from developing too much, resulting in a tender and flaky crust.
How do I prevent my pie crust from shrinking?
To avoid shrinkage, make sure your dough is chilled before rolling it out. You can also blind bake the crust before filling it, which helps to set the shape.
What is the best way to seal the edges of a pie crust?
For a secure seal, brush the edges of the crust with water before crimping them together. You can use a fork, your fingers, or a pastry crimper to create a decorative finish.