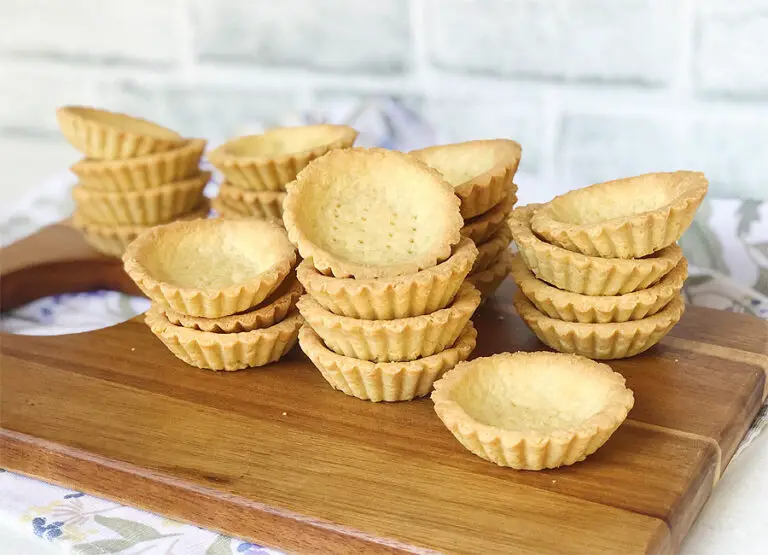
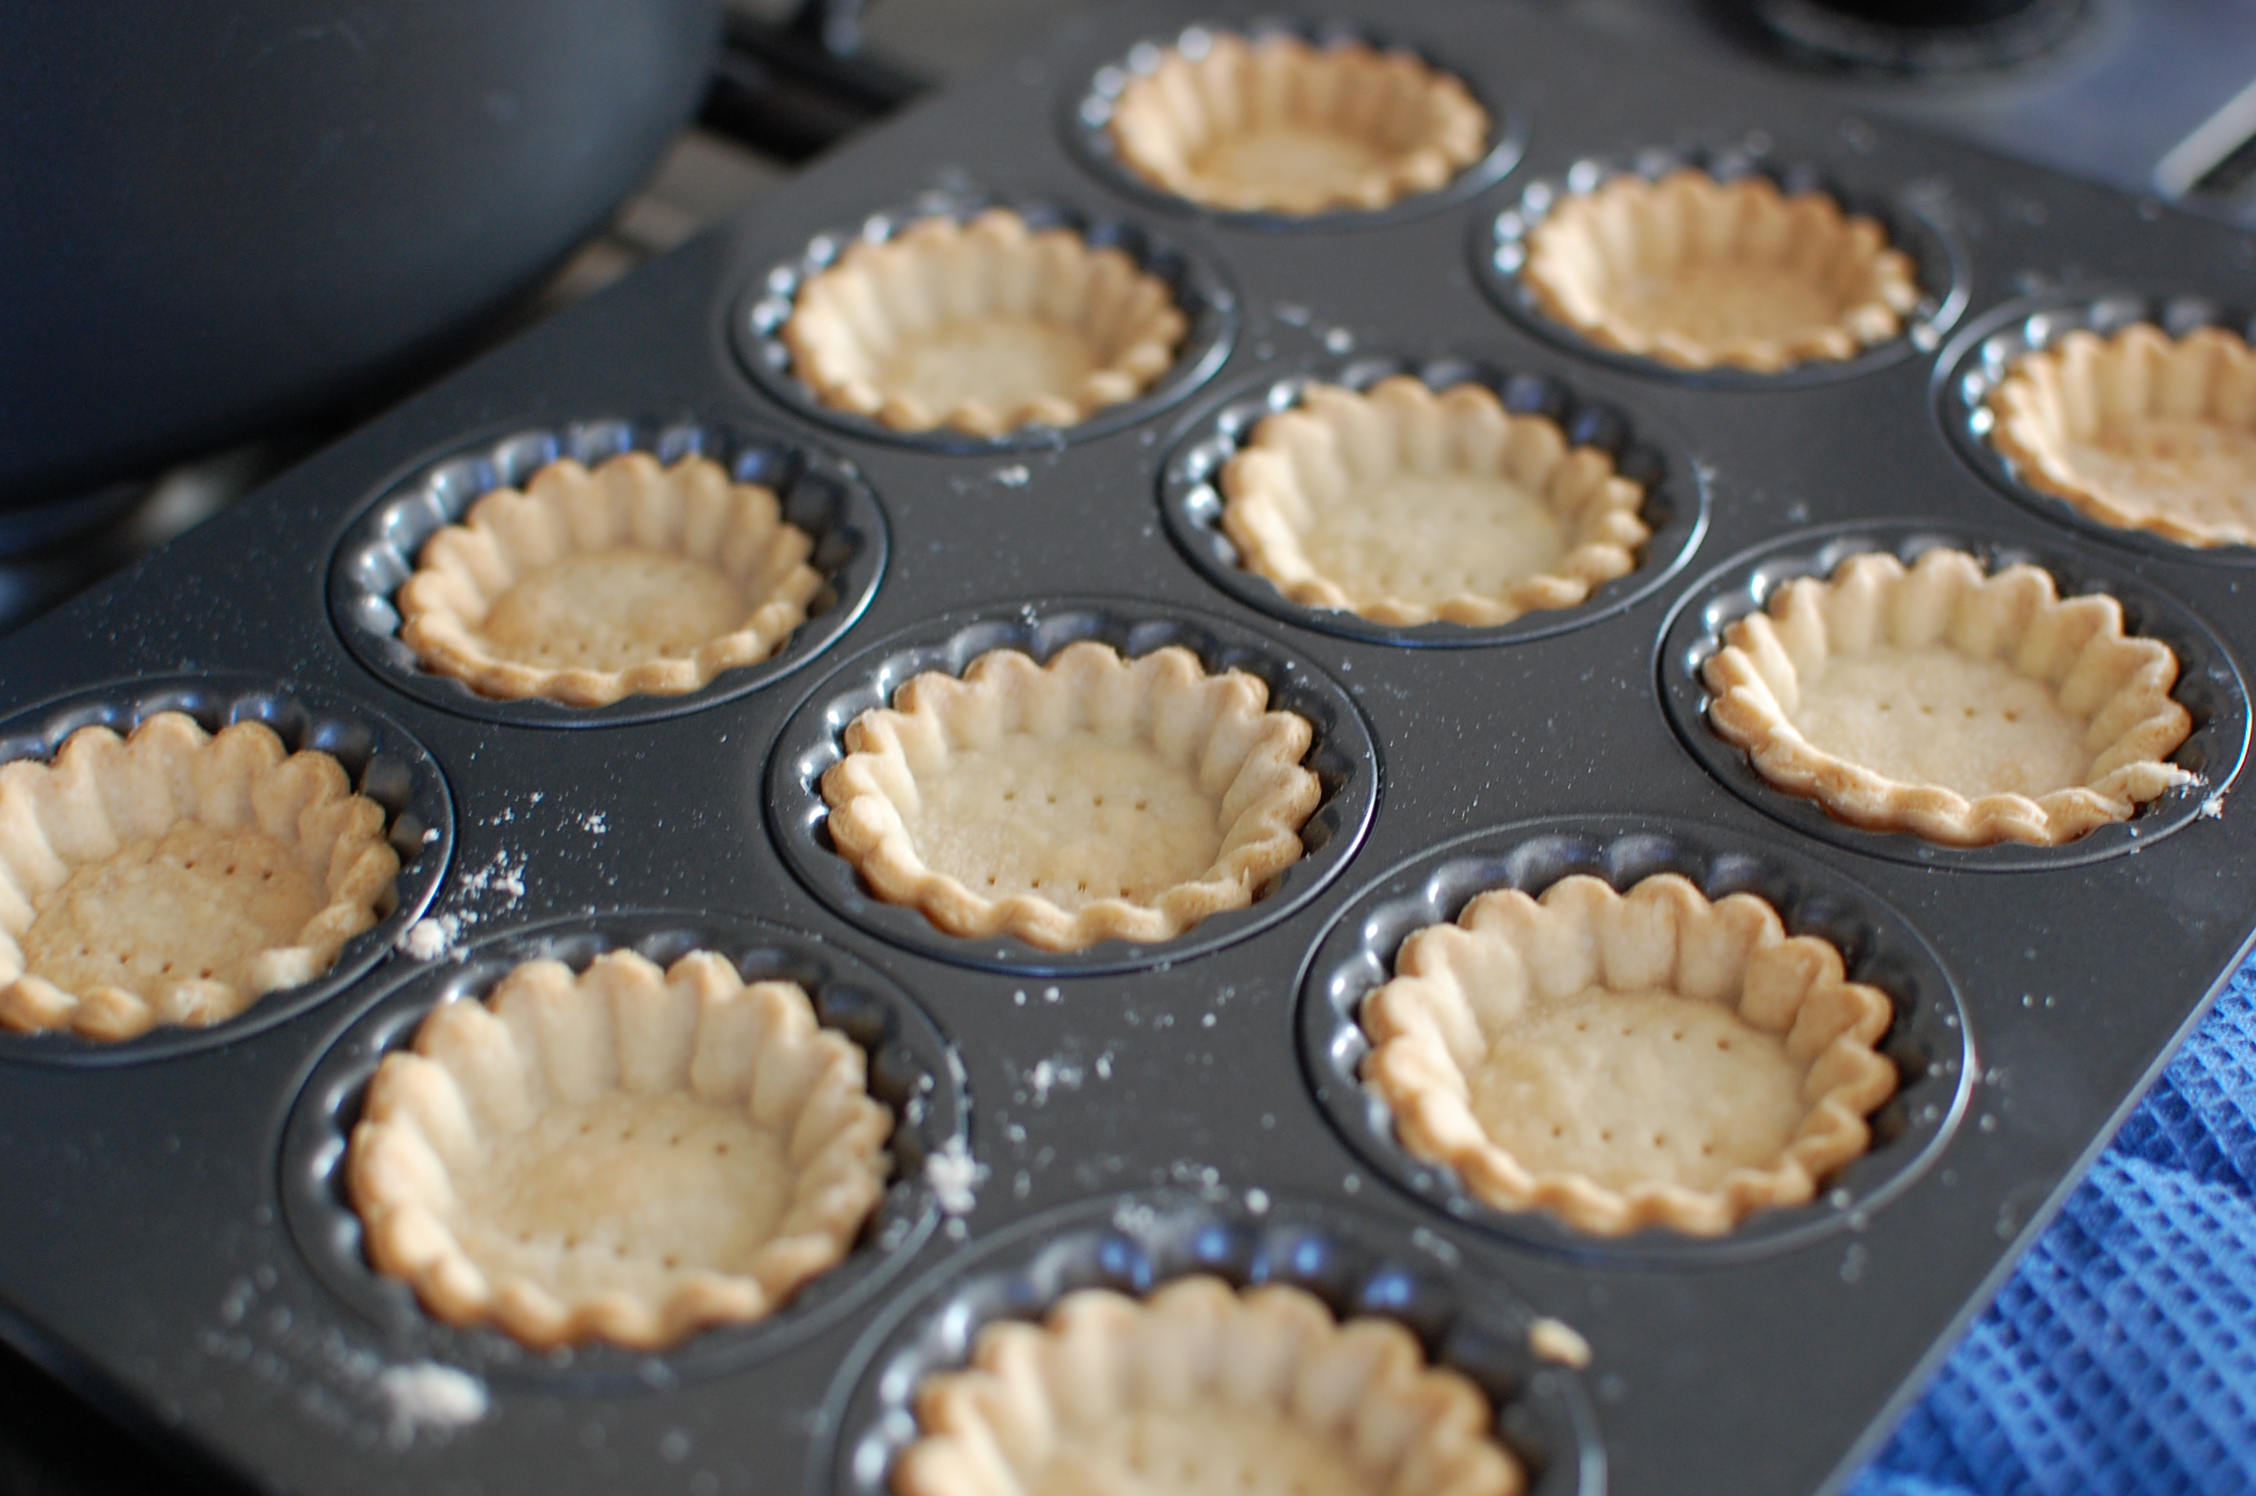
Embark on a culinary adventure with our comprehensive guide to crafting the perfect mini tart shells. These versatile and delectable pastry cups are the foundation for an endless array of sweet and savory treats. Whether you’re a seasoned baker or a novice in the kitchen, this recipe will empower you to create exceptional mini tart shells that will impress your family and friends.
With our step-by-step instructions and expert tips, you’ll master the art of creating a flaky, tender, and flavorful crust. From selecting the finest ingredients to perfecting the baking techniques, we’ll guide you through every step of the process. So gather your ingredients, preheat your oven, and let’s embark on this culinary journey together!
Mini Tart Shell Components
Creating the perfect mini tart shells requires a harmonious blend of essential ingredients and meticulous attention to detail. Understanding the composition of these shells is crucial for achieving the desired texture and flavor.
Essential Ingredients
- Flour: The backbone of the shell, providing structure and a crisp texture. All-purpose flour is commonly used, but alternatives like almond flour or gluten-free flour can cater to specific dietary needs.
- Butter: A crucial ingredient that contributes richness, flakiness, and a melt-in-your-mouth texture. Use cold, unsalted butter to prevent spreading and ensure even distribution.
- Sugar: A subtle touch of sweetness to balance the tart fillings. Granulated sugar is the most common choice, but variations like brown sugar or honey can add depth of flavor.
- Salt: Enhances the overall flavor and balances the sweetness. A pinch of salt elevates the taste of the shell.
- Egg yolk: Adds moisture and binds the ingredients together, resulting in a tender and flaky crust.
- Water: A small amount of cold water is essential for hydration. Adding it gradually ensures a cohesive dough without making it too wet.
Step-by-Step Recipe
Crafting delectable mini tart shells requires a precise approach. Follow these steps meticulously to achieve perfectly golden and flaky pastries.
Begin by gathering your ingredients: cold unsalted butter, all-purpose flour, granulated sugar, and a pinch of salt.
Creating the Dough
- In a large bowl, combine the flour and salt.
- Cut the cold butter into small cubes and add it to the flour mixture.
- Using a pastry cutter or your fingers, work the butter into the flour until it resembles coarse crumbs.
- Add the sugar and mix until just combined.
Chilling and Rolling
- Form the dough into a ball, wrap it in plastic wrap, and refrigerate for at least 30 minutes.
- On a lightly floured surface, roll out the dough to a thickness of about 1/8 inch.
Cutting and Baking
- Using a 3-inch tart cutter, cut out circles from the dough.
- Transfer the dough circles to a greased mini muffin tin.
- Bake in a preheated oven at 375°F (190°C) for 10-12 minutes, or until golden brown.
Baking Techniques

Achieving perfectly baked mini tart shells requires careful attention to temperature and time. Understanding the optimal baking conditions and signs of doneness is crucial to prevent underbaking or overbaking.
Preheating the Oven
Preheating the oven ensures even heat distribution and prevents the tart shells from becoming soggy or undercooked. Preheat the oven to the specified temperature before placing the tart shells inside.
Optimal Baking Temperature and Time
The ideal baking temperature for mini tart shells is typically between 350-400°F (175-200°C). Baking time varies depending on the size and thickness of the tart shells. Generally, smaller tart shells will require less baking time, while larger shells may need additional time.
Signs of Doneness
To determine if the tart shells are done, observe the following signs:
- The edges of the tart shells should be lightly golden brown.
- The bottom of the tart shells should be firm and not soggy.
- When gently pressed, the center of the tart shells should not yield.
Avoiding Overbaking
Overbaking can result in dry, crumbly tart shells. To avoid this, monitor the baking time closely and remove the tart shells from the oven as soon as they reach the desired doneness.
Troubleshooting Tips
Encountering difficulties when making mini tart shells is common. Here are some troubleshooting tips to help you overcome these challenges.
To prevent these problems, it’s crucial to follow the recipe precisely, use high-quality ingredients, and handle the dough gently.
Cracked or Broken Dough
- Cause: Overworking the dough or using too much flour.
- Solution: Handle the dough as little as possible and add flour only until it just comes together.
Tough or Chewy Crust
- Cause: Overbaking or not resting the dough before baking.
- Solution: Bake the tart shells until just golden brown and let them rest for at least 15 minutes before filling.
Soggy Bottom Crust
- Cause: Not preheating the oven or not using a baking sheet.
- Solution: Preheat the oven to the correct temperature and always bake the tart shells on a baking sheet.
Serving Suggestions

Mini tart shells are versatile culinary canvases, offering a delightful range of presentation possibilities. From sweet to savory, the options are endless.
Fillings can be anything from creamy custards to savory quiches. Toppings can add texture, flavor, and visual appeal, while accompaniments can enhance the overall experience.
Sweet Fillings
- Lemon curd
- Chocolate ganache
- Raspberry jam
- Apple pie filling
Savory Fillings
- Quiche Lorraine
- Spinach and feta
- Roasted vegetable
- Crab and avocado
Toppings
- Fresh fruit
- Whipped cream
- Caramelized nuts
- Chocolate shavings
Accompaniments
- Fresh berries
- Ice cream
- Chocolate sauce
- Salad greens
Storage and Handling
Preserving the quality of your mini tart shells is crucial for maintaining their delicate texture and freshness. Here are some essential storage and handling techniques:
Storing Mini Tart Shells
- Airtight Containers: Store baked mini tart shells in airtight containers at room temperature for up to 3 days. This prevents moisture loss and keeps them crispy.
- Refrigeration: For longer storage, place the mini tart shells in an airtight container and refrigerate for up to 5 days. Condensation may form, so allow them to come to room temperature before filling.
- Freezing: Unfilled mini tart shells can be frozen for up to 2 months. Place them in a freezer-safe bag or container and thaw overnight before using.
Reheating Mini Tart Shells
- Oven: Preheat the oven to 350°F (175°C) and place the mini tart shells on a baking sheet. Bake for 5-7 minutes or until warmed through.
- Toaster Oven: Set the toaster oven to the “toast” setting and place the mini tart shells inside. Toast for 2-3 minutes or until warmed through.
Filling Mini Tart Shells
When filling mini tart shells, allow them to cool completely to prevent the filling from becoming soggy. Fill them just before serving to maintain their crispiness.
Last Word
As you savor the golden-brown crust and delectable fillings of your homemade mini tart shells, take pride in your culinary accomplishment. Whether you choose to fill them with sweet or savory delights, these pastry cups will become a staple in your kitchen.
Experiment with different flavors, fillings, and presentation ideas to create endless variations that will tantalize your taste buds. Remember, the perfect mini tart shell is not just a recipe but a canvas for your creativity. So embrace your culinary passion and let these delectable creations bring joy to your table and beyond!
FAQ Section
What is the secret to achieving a flaky crust?
The key to a flaky crust lies in working the butter into the flour until it resembles coarse crumbs. Avoid overworking the dough, as this can result in a tough crust.
How can I prevent my tart shells from shrinking during baking?
To prevent shrinkage, make sure your dough is well-chilled before rolling it out. Additionally, use a fork to prick the bottom of the tart shells before baking, which will allow steam to escape and prevent them from puffing up.
Can I make the tart shells ahead of time?
Yes, you can make the tart shells up to 3 days in advance. Simply wrap them tightly in plastic wrap and store them in the refrigerator. When ready to use, bring them to room temperature before filling and baking.
What are some creative filling ideas for mini tart shells?
The possibilities are endless! Try sweet fillings such as fruit compote, chocolate ganache, or lemon curd. For savory options, consider fillings like quiche, roasted vegetables, or even mini pizzas.
