
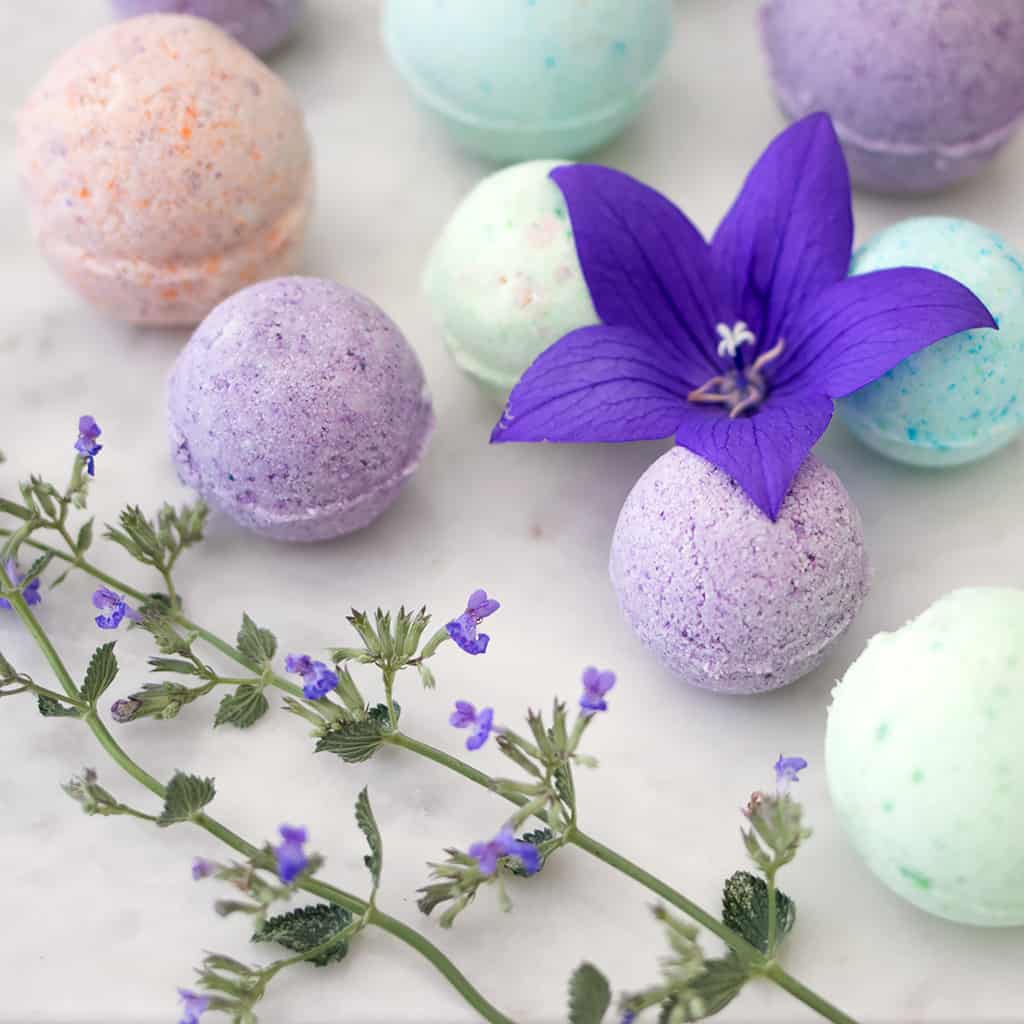
Immerse yourself in the world of DIY bath bomb making, where creativity and relaxation converge. Craft your own fizzy, fragrant bath bombs using simple, accessible ingredients and discover the joy of personalized bathtime indulgence. From soothing scents to skin-nourishing additives, explore the endless possibilities of creating unique bath bombs tailored to your preferences.
Delve into the fascinating science behind bath bombs, understanding how the combination of ingredients reacts to create a fizzing sensation and release aromatic fragrances. Learn the art of selecting essential oils, carrier oils, and natural colorants to create visually stunning and therapeutic bath bombs that transform your bathroom into a spa-like sanctuary.
DIY Bath Bomb Ingredients
Creating your own bath bombs at home is a fun and rewarding experience that allows you to customize your bathing experience with unique scents, colors, and ingredients. Here’s a comprehensive list of common and easily accessible ingredients used in DIY bath bomb recipes, along with their purpose and benefits:
Baking Soda
- A mild abrasive that helps cleanse the skin and remove dead skin cells.
- Neutralizes acids in the water, creating a soothing and relaxing bath experience.
- Helps create a fizzing reaction when combined with citric acid.
Citric Acid
- A natural acid that reacts with baking soda to create a fizzing reaction.
- Helps balance the pH of the bath water, making it more gentle on the skin.
- Provides a refreshing and invigorating scent.
Epsom Salt
- A natural mineral compound that helps soothe sore muscles and relieve stress.
- Promotes relaxation and reduces inflammation.
- Helps draw out toxins from the body.
Cornstarch
- A thickening agent that helps bind the ingredients together and prevents the bath bomb from crumbling.
- Provides a smooth and silky texture to the bath water.
- Helps absorb excess oils from the skin.
Essential Oils
- Natural oils extracted from plants that provide a variety of therapeutic benefits.
- Can be used to create a relaxing, invigorating, or soothing bath experience.
- Some popular essential oils for bath bombs include lavender, peppermint, eucalyptus, and chamomile.
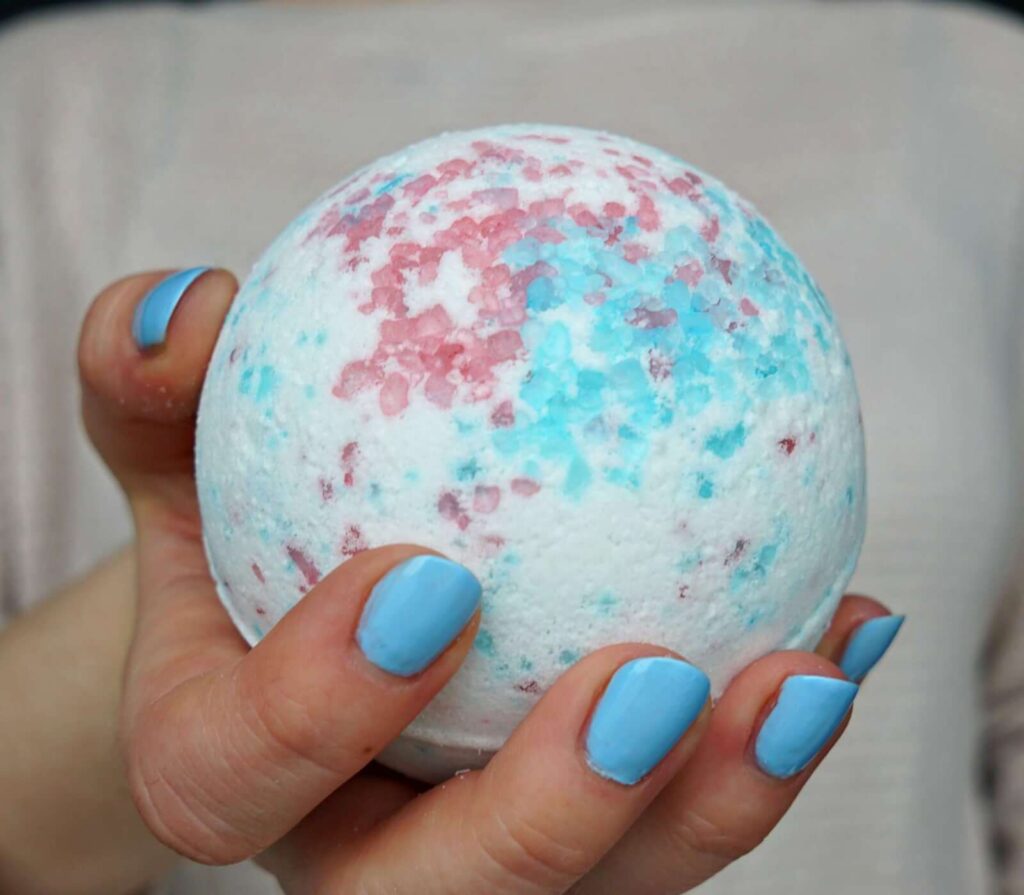
Food Coloring
- Used to add color to the bath bomb, making it visually appealing.
- Can be used to create a variety of colors and patterns.
- Some popular food coloring options include natural food dyes, mica powders, and liquid food coloring.
Carrier Oils
- Oils that are used to dilute essential oils and make them safe for use on the skin.
- Provide a moisturizing and nourishing effect to the bath water.
- Some popular carrier oils for bath bombs include coconut oil, sweet almond oil, and jojoba oil.
DIY Bath Bomb Equipment
Before diving into the exciting world of DIY bath bomb creation, it’s essential to gather the necessary tools and equipment to ensure a smooth and successful process. These tools will help you mix, mold, and decorate your bath bombs, allowing you to create unique and fizzy masterpieces.
Mixing Tools
The first step in making bath bombs is mixing the ingredients together. For this, you’ll need:
- Mixing bowls: Choose bowls that are large enough to accommodate the quantity of ingredients you’re using. Stainless steel or glass bowls are ideal as they are non-reactive and easy to clean.
- Measuring cups and spoons: Accurate measurements are crucial for successful bath bomb making. Use a variety of measuring cups and spoons to ensure you measure both large and small quantities of ingredients precisely.
- Whisk or spoon: A whisk or spoon is used to mix the ingredients together until they are well combined. A whisk is particularly useful for ensuring there are no lumps in the mixture.
Molding Tools
Once the mixture is ready, it’s time to mold it into the desired shape. For this, you’ll need:
- Bath bomb molds: Bath bomb molds come in various shapes and sizes, allowing you to create bath bombs in a variety of designs. Choose molds that are made of durable materials like plastic or metal, and ensure they are the right size for your desired bath bomb weight.
- Spoon or scoop: Use a spoon or scoop to fill the molds with the bath bomb mixture. Make sure to press the mixture firmly into the molds to ensure the bath bombs hold their shape when removed.
Additional Tools
In addition to the essential tools mentioned above, there are a few additional items that can be helpful in the bath bomb-making process:
- Gloves: Wearing gloves can help protect your hands from the ingredients in the bath bomb mixture, especially if you have sensitive skin.
- Apron: An apron can help protect your clothes from spills and stains while you’re making bath bombs.
- Decorating supplies: If you want to decorate your bath bombs, you can use a variety of supplies such as glitter, sprinkles, or dried flowers.
By gathering the right tools and equipment, you’ll be well-prepared to embark on your DIY bath bomb-making journey and create fizzy, fragrant bath bombs that will transform your bathing experience.
Step-by-Step DIY Bath Bomb Recipe
Creating your own bath bombs is a fun and rewarding experience. Follow this detailed guide to craft effervescent and aromatic bath bombs that will transform your bathing routine into a spa-like retreat.
Measuring and Mixing Dry Ingredients
Begin by accurately measuring and combining the dry ingredients in a spacious bowl. These typically include baking soda, citric acid, cornstarch, and Epsom salt. Ensure thorough mixing to achieve a uniform consistency.
Adding Wet Ingredients
Next, introduce the wet ingredients, which often comprise carrier oils like coconut or jojoba oil, essential oils for fragrance, and water or witch hazel for binding. Gradually incorporate these liquids into the dry mixture, employing a fork or whisk to blend until the mixture resembles wet sand.
Avoid over-mixing to prevent the reaction from starting prematurely.
Packing and Setting
Transfer the mixture into your chosen molds, pressing it firmly to compact it. Once the molds are filled, set them aside in a dry and cool environment for several hours or overnight to allow the bath bombs to fully set and harden.
Once set, carefully unmold the bath bombs and store them in an airtight container for later use.
Variations and Customizations
Unleash your creativity and personalize your DIY bath bombs to suit your unique preferences and needs. Experiment with different scents, colors, and skin-nourishing ingredients to create a truly bespoke bathing experience.
Essential Oil Combinations
Elevate your bath bombs with a symphony of scents. Mix and match essential oils to achieve your desired aroma. For a relaxing soak, blend lavender and chamomile. For an invigorating experience, combine peppermint and eucalyptus. Experiment with different combinations to create your signature scent.
Natural Colorants
Add a pop of color and visual appeal to your bath bombs with natural colorants. Dried flowers like lavender or rose petals not only provide color but also release their soothing fragrances. Herbs like rosemary or mint add a touch of color and a refreshing scent.
Clays like kaolin or bentonite provide a natural, earthy hue and have skin-purifying properties.
Skin-Nourishing Ingredients
Transform your bath bombs into a spa-like experience by incorporating skin-nourishing ingredients. Oatmeal, known for its soothing and anti-inflammatory properties, can help alleviate dry, irritated skin. Honey, a natural humectant, helps retain moisture and leaves your skin feeling soft and supple.
Shea butter, rich in vitamins A and E, deeply nourishes and moisturizes the skin.
Troubleshooting Common Issues
Creating DIY bath bombs can be a fun and rewarding experience, but it’s not without its challenges. Several common problems can arise during the process, such as bath bombs that are too hard or too soft, crumbling or fizzing excessively, or not releasing a strong scent.
Understanding the causes of these issues and knowing how to overcome them can help you create successful and enjoyable bath bombs every time.
Bath Bombs Are Too Hard or Too Soft
Bath bombs that are too hard may not dissolve properly in the bath, while those that are too soft may crumble or break apart. The ideal consistency for a bath bomb is firm enough to hold its shape but soft enough to crumble easily when pressed.
- Problem: Bath bombs are too hard.
- Solution: Add more liquid, such as water or oil, to the mixture. You can also try using a different type of binding agent, such as cornstarch or arrowroot powder.
- Problem: Bath bombs are too soft.
- Solution: Add more dry ingredients, such as baking soda or citric acid, to the mixture. You can also try using a different type of binding agent, such as gelatin or guar gum.
Bath Bombs Crumble or Fizz Excessively
Bath bombs that crumble or fizz excessively may not provide a relaxing and enjoyable bathing experience. The ideal bath bomb should fizz gently and release its fragrance slowly.
- Problem: Bath bombs crumble when pressed.
- Solution: Add more binding agent, such as cornstarch or arrowroot powder, to the mixture. You can also try using a different type of binding agent, such as gelatin or guar gum.
- Problem: Bath bombs fizz excessively.
- Solution: Reduce the amount of baking soda or citric acid in the mixture. You can also try adding a small amount of cornstarch or arrowroot powder to the mixture.
Bath Bombs Do Not Release a Strong Scent
Bath bombs that do not release a strong scent may not provide the desired aromatherapy benefits. The ideal bath bomb should release its fragrance slowly and evenly throughout the bath.
- Problem: Bath bombs do not release a strong scent.
- Solution: Add more essential oil or fragrance oil to the mixture. You can also try using a different type of essential oil or fragrance oil.
Preventing Common Mistakes
To avoid common problems with DIY bath bombs, follow these tips:
- Use accurate measurements. Incorrect measurements can lead to bath bombs that are too hard, too soft, or do not fizz properly.
- Mix the ingredients thoroughly. Incomplete mixing can result in bath bombs that are crumbly or do not fizz evenly.
- Press the mixture firmly into the mold. Loosely packed bath bombs may crumble or break apart.
- Let the bath bombs dry completely before using them. Bath bombs that are not completely dry may not fizz properly.
Safety Precautions
Prioritizing safety is paramount when crafting and utilizing DIY bath bombs. The essential oils used in these creations, while providing aromatic benefits, can pose potential risks, especially for individuals with sensitive skin or allergies.
It is crucial to conduct a patch test before indulging in a full bath bomb experience. Apply a small amount of the bath bomb mixture to a discreet area of your skin, such as the inner elbow. Monitor the area for any signs of irritation or allergic reaction for at least 24 hours.
If no adverse effects arise, you can proceed to enjoy your bath bomb.
Storing and Using Bath Bombs Safely
To ensure the safe storage and use of your handmade bath bombs, adhere to the following guidelines:
- Store bath bombs in an airtight container in a cool, dry place away from direct sunlight. This will prevent the bath bombs from absorbing moisture and losing their effervescence.
- Keep bath bombs out of reach of children and pets. The essential oils and other ingredients in bath bombs can be harmful if ingested.
- Use bath bombs as directed. Do not use more than one bath bomb at a time, and do not use bath bombs more than twice a week.
- If you have sensitive skin or allergies, use caution when using bath bombs. You may want to test a small area of your skin before using a bath bomb.
- If you experience any irritation or allergic reaction after using a bath bomb, discontinue use immediately and consult a doctor.
Final Conclusion
As you embark on your DIY bath bomb-making journey, remember the importance of safety precautions. Handle essential oils with care, especially if you have sensitive skin or allergies. Store your bath bombs properly to maintain their freshness and potency. With a little practice and creativity, you’ll be crafting delightful bath bombs that not only cleanse and moisturize your skin but also elevate your bathing experience to a whole new level of relaxation and enjoyment.
Frequently Asked Questions
Q: What are the common ingredients used in DIY bath bomb recipes?
A: Baking soda, citric acid, Epsom salt, cornstarch, essential oils, carrier oils, and food coloring are some commonly used ingredients.
Q: What role do carrier oils play in bath bombs?
A: Carrier oils like coconut oil or sweet almond oil add moisturizing and nourishing properties to the bath bomb, leaving your skin feeling soft and smooth.
Q: How can I customize my DIY bath bombs?
A: You can customize your bath bombs by adjusting the scent using different essential oil combinations, adding natural colorants like dried flowers or clays, and incorporating skin-nourishing ingredients like oatmeal, honey, or shea butter.
Q: What are some common problems that may arise during the DIY bath bomb-making process?
A: Common issues include bath bombs being too hard or too soft, crumbling or fizzing excessively, or not releasing a strong scent. These issues can be addressed by adjusting the ingredient ratios, ensuring proper mixing, and storing the bath bombs correctly.
Q: What safety precautions should I take when handling and using DIY bath bombs?
A: Handle essential oils with care, especially if you have sensitive skin or allergies. Store bath bombs in a cool, dry place, out of reach of children and pets.