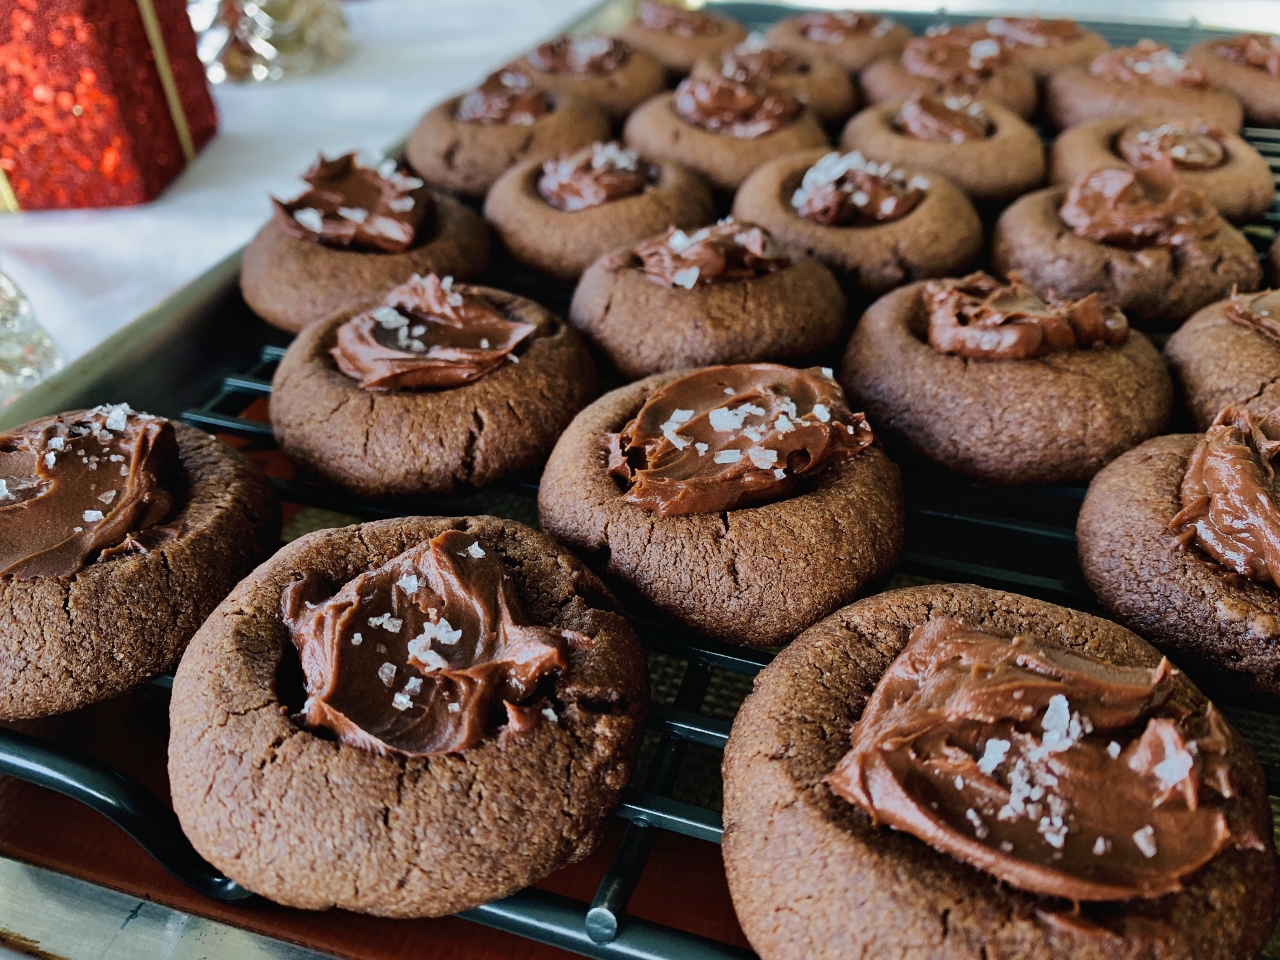
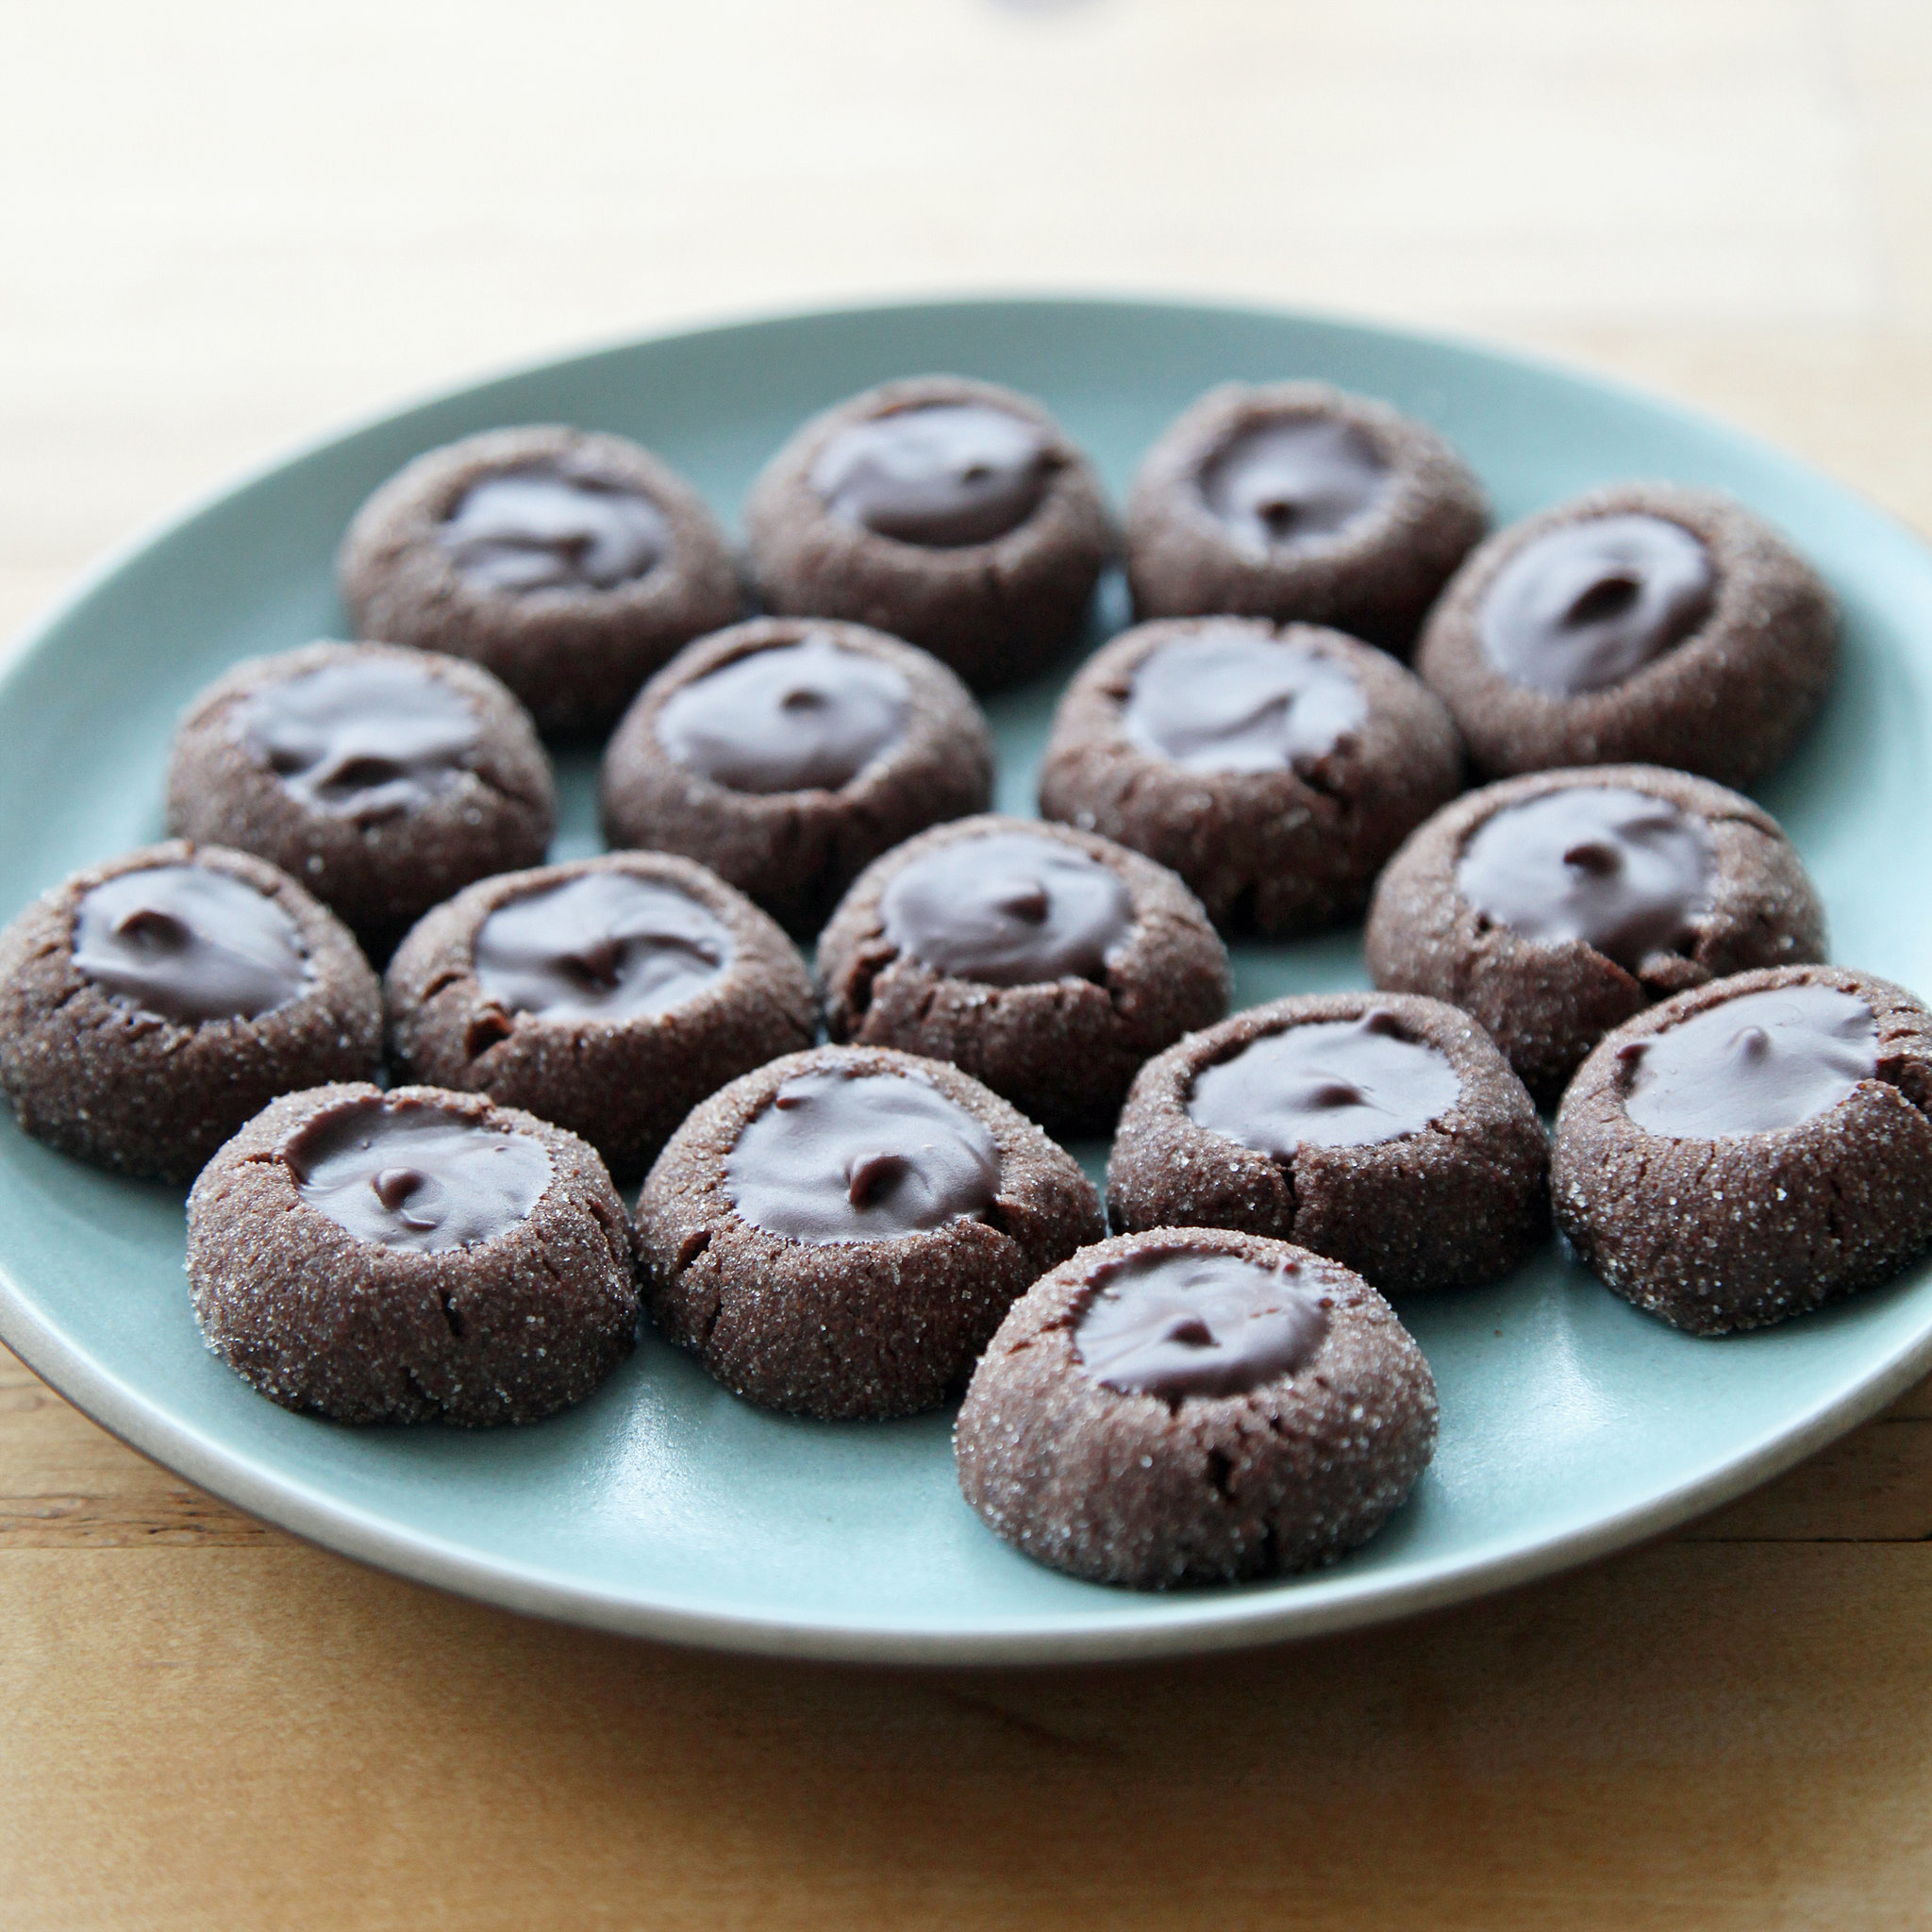
Indulge in the irresistible allure of chocolate thumbprint cookies, a timeless classic that combines the richness of chocolate with the delicate sweetness of a shortbread base. With our comprehensive guide, you’ll discover the secrets to crafting these delectable treats, from the perfect balance of ingredients to creative variations that will tantalize your taste buds.
Whether you’re a seasoned baker or a novice in the kitchen, our step-by-step instructions will empower you to create these cookies with ease. From mixing the dough to shaping and baking, we’ll guide you through each stage, ensuring that your thumbprint cookies turn out perfectly every time.
Ingredients
Chocolate thumbprint cookies are a classic and beloved treat, and they’re surprisingly easy to make at home. The key to a great chocolate thumbprint cookie is the right balance of ingredients.
Here’s a list of everything you’ll need:
Dry Ingredients
- 1 1/2 cups (180g) all-purpose flour
- 1/2 cup (100g) unsweetened cocoa powder
- 1/2 teaspoon (2g) baking powder
- 1/4 teaspoon (1g) salt
Wet Ingredients
- 1 cup (2 sticks or 226g) unsalted butter, softened
- 3/4 cup (150g) granulated sugar
- 1 large egg
- 1 teaspoon (5ml) vanilla extract
Filling
- 1/2 cup (100g) semisweet chocolate chips
- 1/4 cup (50g) chopped walnuts (optional)
s
Begin by preheating your oven to 375 degrees Fahrenheit (190 degrees Celsius). Line a baking sheet with parchment paper.In a large bowl, cream together the butter and sugar until light and fluffy. Beat in the eggs one at a time, then stir in the vanilla extract.
In a separate bowl, whisk together the flour, cocoa powder, and salt. Gradually add the dry ingredients to the wet ingredients, mixing until just combined.Roll the dough into 1-inch balls and place them on the prepared baking sheet. Use your thumb to make an indentation in the center of each ball.
Fill the indentations with your desired filling.Bake the cookies for 10-12 minutes, or until the edges are set and the centers are slightly soft. Allow the cookies to cool on the baking sheet for a few minutes before transferring them to a wire rack to cool completely.
Tips for Achieving the Perfect Texture
* For a chewier cookie, use less flour.
- For a crispier cookie, use more flour.
- If the dough is too sticky, add more flour 1 tablespoon at a time.
- If the dough is too dry, add more butter 1 tablespoon at a time.
- Do not overmix the dough, as this will make the cookies tough.
- Bake the cookies until the edges are set and the centers are slightly soft. Overbaking will make the cookies dry and crumbly.
Variations
The classic chocolate thumbprint cookie is a versatile treat that can be easily customized to suit your taste preferences. Experiment with different flavors, fillings, and toppings to create unique variations that will delight your palate.
Incorporate additional flavors by adding spices such as cinnamon, nutmeg, or ginger to the dough. For a zesty twist, try adding a teaspoon of orange or lemon zest. You can also add a splash of vanilla or almond extract for a subtle sweetness.
Fillings
The traditional thumbprint filling is a simple mixture of sugar and butter. However, there are endless possibilities for creative fillings. Try using jams or preserves, such as raspberry, strawberry, or apricot. For a richer filling, use chocolate ganache, caramel, or peanut butter.
Toppings
After filling the thumbprints, sprinkle on a variety of toppings to enhance their appearance and flavor. Crushed nuts, such as almonds, walnuts, or pecans, add a crunchy texture. You can also use shredded coconut, chopped bacon, or even edible glitter for a touch of sparkle.
Presentation

The visual appeal of your chocolate thumbprint cookies can greatly enhance their overall appeal. Here are some tips for presenting them in a way that will tantalize the taste buds:
When arranging the cookies on a serving platter, consider creating a visually pleasing pattern. You can place them in rows, circles, or any other arrangement that showcases their shape and size. Alternatively, you can scatter them randomly for a more casual look.
Garnishing
Garnishing your chocolate thumbprint cookies can add a touch of elegance and make them even more inviting. Some popular garnishing options include:
- Dusting them with powdered sugar
- Drizzling them with melted chocolate
- Sprinkling them with chopped nuts or candy
- Adding a dollop of whipped cream or ice cream
Storing
To maintain the freshness and texture of your chocolate thumbprint cookies, it is important to store them properly. Here are some guidelines:
- Store the cookies in an airtight container at room temperature for up to 3 days.
- For longer storage, place the cookies in an airtight container in the refrigerator for up to 2 weeks.
- If you freeze the cookies, they can last for up to 2 months. Thaw them at room temperature before serving.
Closing Summary

As you savor the melt-in-your-mouth texture and delectable flavors of your homemade chocolate thumbprint cookies, you’ll realize that they’re more than just a sweet treat. They’re a testament to your culinary skills and a delightful way to create lasting memories with loved ones.
So gather your ingredients, preheat your oven, and embark on a baking adventure that will leave you with a tray of irresistible chocolatey goodness.
Answers to Common Questions
What is the secret to achieving the perfect texture for chocolate thumbprint cookies?
The key lies in finding the right balance of wet and dry ingredients. Over-mixing the dough can result in tough cookies, while under-mixing can lead to a crumbly texture. Follow our instructions carefully and mix the dough just until it comes together to ensure optimal texture.
Can I substitute different types of flour in this recipe?
Yes, you can experiment with different flours to create unique variations. Almond flour or whole wheat flour can add a nutty flavor and extra nutritional value, while gluten-free flour blends can accommodate dietary restrictions.
How can I prevent my thumbprint cookies from spreading too much during baking?
To prevent excessive spreading, make sure your oven is preheated to the correct temperature and that you chill the dough before shaping and baking. Chilling helps firm up the butter, which contributes to a more stable cookie.
