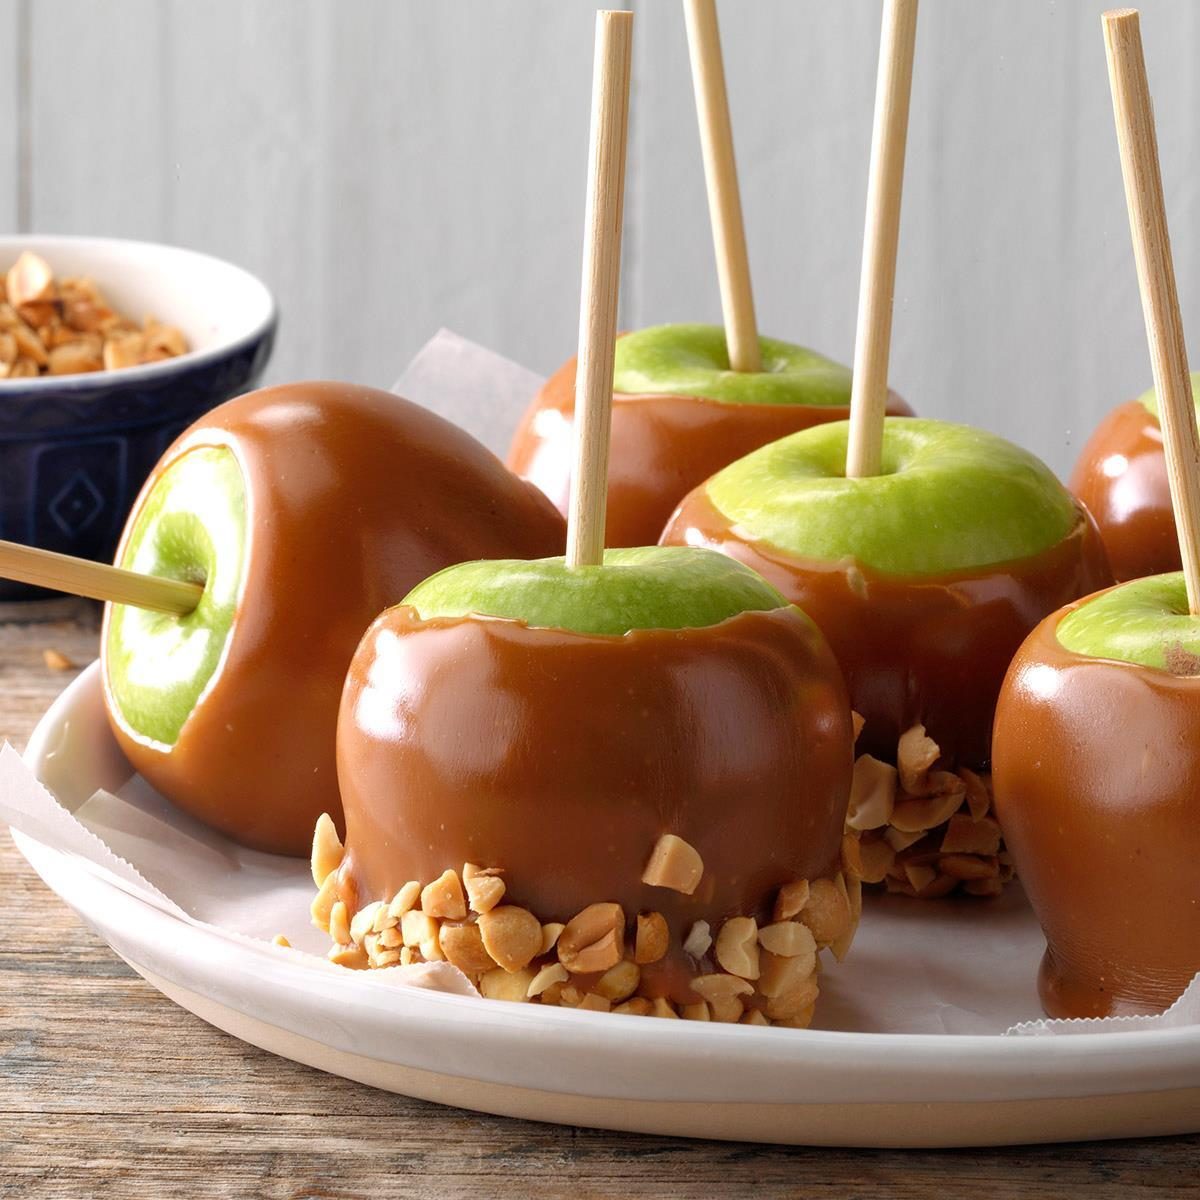
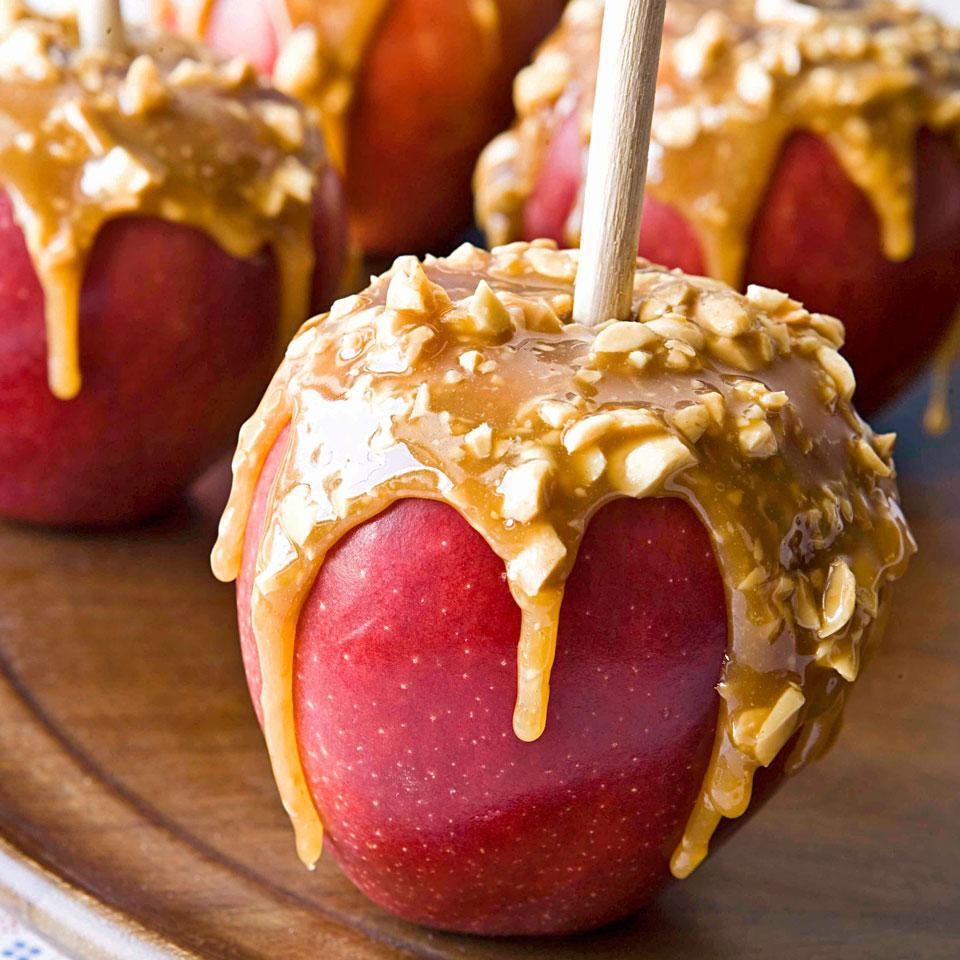
The caramel apple: a classic fall treat that is both delicious and fun to make. Whether you’re a seasoned baker or a novice in the kitchen, this recipe will guide you through the process of creating perfect caramel apples every time.
In this guide, we’ll cover everything you need to know, from gathering the necessary ingredients and equipment to decorating your apples with flair. So grab your apron and let’s get started!
Ingredients
The foundation of a delectable caramel apple lies in a few essential ingredients that harmoniously blend to create a sweet and irresistible treat.
To craft this culinary masterpiece, you will need:
Apples
- 12 medium-sized apples (choose a firm and crisp variety like Granny Smith or Honeycrisp)
Caramel
- 1 cup granulated sugar
- 1/2 cup light corn syrup
- 1/2 cup heavy cream
- 1/4 cup unsalted butter, cubed
- 1 teaspoon vanilla extract
Special Ingredients and Substitutes
- Dark chocolate chips: For a richer flavor, consider adding 1/2 cup of dark chocolate chips to the melted caramel.
- Chopped nuts: To add a crunchy texture, sprinkle chopped walnuts, pecans, or almonds over the caramel-coated apples.
- Sprinkles: For a festive touch, decorate the apples with colorful sprinkles before the caramel hardens.
Equipment
Before embarking on your caramel apple-making adventure, it’s crucial to have the right tools at your disposal. These culinary companions will not only simplify the process but also ensure your caramel apples emerge from the kitchen looking and tasting their best.
While most of the equipment required is likely already gracing your kitchen, a few specialized tools may elevate your caramel-making experience.
Candy Thermometer
A candy thermometer is an invaluable tool for achieving the perfect caramel consistency. By monitoring the temperature of your caramel, you can prevent it from overcooking and becoming grainy or undercooking and remaining too liquid. Look for a thermometer with a long, thin probe that can easily be inserted into the caramel without touching the bottom of the pan.
Double Boiler
A double boiler is a gentle and effective way to melt your caramel without scorching it. It consists of two pots, one that fits snugly inside the other. The bottom pot is filled with water, which is brought to a simmer.
The top pot holds the caramel ingredients, which are melted by the steam rising from the boiling water.
Baking Sheet
A large baking sheet lined with parchment paper or a silicone baking mat will provide a convenient and non-stick surface for cooling your caramel apples. Make sure the baking sheet is big enough to accommodate all of your apples without overcrowding.
Step-by-Step s

Creating homemade caramel apples is a fun and easy process that will yield delicious and festive treats. Follow these step-by-step s carefully to ensure success.
Before beginning, gather all necessary ingredients and equipment. It is recommended to work in a well-ventilated area due to the caramelizing process.
Prepare the Apples
- Select firm and blemish-free apples. Granny Smith or Honeycrisp varieties are ideal due to their tartness and ability to hold their shape well.
- Thoroughly wash and dry the apples to remove any dirt or residue.
- Insert a lollipop stick or wooden skewer into the stem end of each apple, about 1 inch deep.
Make the Caramel
- In a heavy-bottomed saucepan, combine the granulated sugar, corn syrup, water, and butter.
- Heat the mixture over medium heat, stirring constantly, until the sugar dissolves and the mixture begins to simmer.
- Reduce the heat to low and continue cooking, stirring occasionally, until the caramel reaches the desired color and consistency. This may take approximately 15-20 minutes.
Dip the Apples
- Carefully dip each apple into the caramel, twirling it to coat evenly.
- Hold the apple upside down for a few seconds to allow excess caramel to drip off.
- Place the dipped apples on a parchment paper-lined baking sheet.
Add Toppings
- Immediately after dipping, sprinkle or roll the apples in your desired toppings, such as chopped nuts, crushed graham crackers, or candy sprinkles.
- Allow the caramel apples to cool completely at room temperature before enjoying.
Caramel Sauce

Making caramel sauce is a delicate process that requires patience and precision. By following these steps and techniques, you can achieve the perfect consistency and flavor.
Cooking the Sugar
Begin by heating the sugar in a heavy-bottomed saucepan over medium heat. Stir constantly to prevent scorching, and continue cooking until the sugar has melted and turned a deep amber color. This process may take several minutes, so be patient and keep a close eye on the sugar.
Adding the Liquid
Once the sugar has reached the desired color, carefully add the hot liquid (such as water, cream, or milk) while stirring vigorously. The liquid will cause the caramel to bubble and splatter, so be cautious. Continue stirring until the caramel is smooth and well-combined.
Troubleshooting Common Issues
- Crystallization: If the caramel crystallizes, remove it from the heat and stir in a small amount of water. Return to heat and continue cooking until the crystals dissolve.
- Burning: If the caramel burns, discard it and start over. It is essential to stir constantly during the cooking process to prevent burning.
- Too thick: If the caramel is too thick, add a little more liquid and stir until it reaches the desired consistency.
- Too thin: If the caramel is too thin, continue cooking over low heat until it thickens. Alternatively, you can add a small amount of cornstarch slurry (cornstarch mixed with a little water) to thicken it.
Apple Preparation
Selecting the right apples is crucial for perfect caramel apples. Choose firm, crisp varieties that will hold their shape well when dipped in caramel, such as Granny Smith, Honeycrisp, or Braeburn. Avoid soft or bruised apples, as they may break or fall apart during the dipping process.
Before preparing the apples, wash them thoroughly under cold running water to remove any dirt or debris. Dry them completely with a clean towel to prevent the caramel from slipping off.
Scoring and Coring
For a more elegant presentation, you can score the apples before dipping them in caramel. Use a sharp paring knife to make shallow cuts around the circumference of the apple, about 1/4 inch apart. This will create a decorative pattern and help the caramel adhere better.
If you prefer, you can also core the apples before dipping. Use an apple corer to remove the core and seeds, leaving a clean cavity. This will allow the caramel to fill the center of the apple, creating a sweet and juicy treat.
Coating the Apples
Coating the apples is the most crucial step in making caramel apples. It requires patience and a steady hand to achieve an even and consistent coating. Here’s how to do it:
Hold the apple firmly by the stick and dip it into the caramel sauce, ensuring the entire surface is covered. Slowly rotate the apple while lifting it out of the sauce to allow excess caramel to drip off.
To prevent the caramel from hardening too quickly, keep the apples warm by placing them in a preheated oven at 200°F (93°C) for 5-10 minutes.
Tips for an Even Coating
- Use a deep and wide bowl or container to prevent the apples from touching the bottom and sides, which can cause the caramel to stick.
- If the caramel becomes too thick, add a small amount of warm water or cream to thin it out.
- If the caramel becomes too thin, place it back over low heat and simmer until it thickens.
- Rotate the apples slowly and steadily to ensure an even coating.
- Hold the apples over a piece of parchment paper to catch any excess caramel.
Decorating the Apples
Once the apples are coated, you can decorate them with various toppings such as chopped nuts, sprinkles, candy melts, or drizzled chocolate.
To prevent the toppings from falling off, dip the coated apples back into the caramel sauce and roll them in the desired toppings. Alternatively, you can sprinkle the toppings over the apples while the caramel is still warm and pliable.
Decorating
The final step in creating mouthwatering caramel apples is decorating them. This step allows for creativity and personalization, making each apple a unique masterpiece. Whether you prefer classic sprinkles or more elaborate toppings, the options are endless.
Sprinkles are a popular choice for their vibrant colors and variety of shapes. From classic rainbow sprinkles to festive holiday-themed ones, there’s a sprinkle for every occasion. Nuts, such as chopped peanuts or almonds, add a crunchy texture and nutty flavor to the apples.
Other toppings like coconut flakes, chopped Oreos, or even bacon bits can also be used to create unique and eye-catching treats.
Creative Techniques
For those who want to take their caramel apple decorating to the next level, there are several creative techniques to explore. Drizzling melted chocolate over the caramel creates a rich and decadent look. You can also dip the apples in colored candy melts and decorate them with edible glitter or sprinkles for a shimmering effect.
Another popular technique is to create caramel apple pops. Simply insert lollipop sticks into the apples before dipping them in caramel. This makes them easy to hold and perfect for parties or events.
Storage and Handling
Properly storing caramel apples is essential to maintain their freshness and quality. Here’s how to ensure your treats stay delicious for as long as possible.
Caramel apples should be stored in an airtight container or individually wrapped in plastic wrap. This prevents air from reaching the caramel, which can cause it to harden and become brittle. The ideal temperature for storage is between 50°F (10°C) and 60°F (16°C).
Avoid storing them in the refrigerator, as the cold can cause the caramel to become hard and the apples to soften.
Tips for Preserving Freshness
- Use fresh, firm apples that are free of bruises or blemishes.
- Allow the caramel to cool slightly before dipping the apples, as hot caramel can cause the apples to cook and become mushy.
- Rotate the apples while dipping to ensure an even coating.
- Place the caramel apples on a wire rack to allow any excess caramel to drip off.
- Store the caramel apples in a cool, dry place away from direct sunlight.
Final Summary
With this recipe, you’ll be able to create caramel apples that are not only delicious but also visually stunning. So what are you waiting for? Get baking!
FAQ Section
What type of apples are best for caramel apples?
The best apples for caramel apples are firm and tart, such as Granny Smith or Honeycrisp.
How do I make the caramel sauce?
To make the caramel sauce, combine sugar, corn syrup, water, and salt in a saucepan. Bring to a boil over medium heat, stirring constantly. Reduce heat and simmer for 5-10 minutes, or until the caramel has thickened.
How do I coat the apples with caramel?
To coat the apples with caramel, dip each apple into the caramel sauce, turning to coat evenly. Allow the excess caramel to drip off, then place the apples on a parchment paper-lined baking sheet.
How do I decorate the caramel apples?
You can decorate the caramel apples with a variety of toppings, such as sprinkles, chopped nuts, or candy melts. Get creative and have fun!
How do I store caramel apples?
Caramel apples should be stored in the refrigerator for up to 2 weeks.
