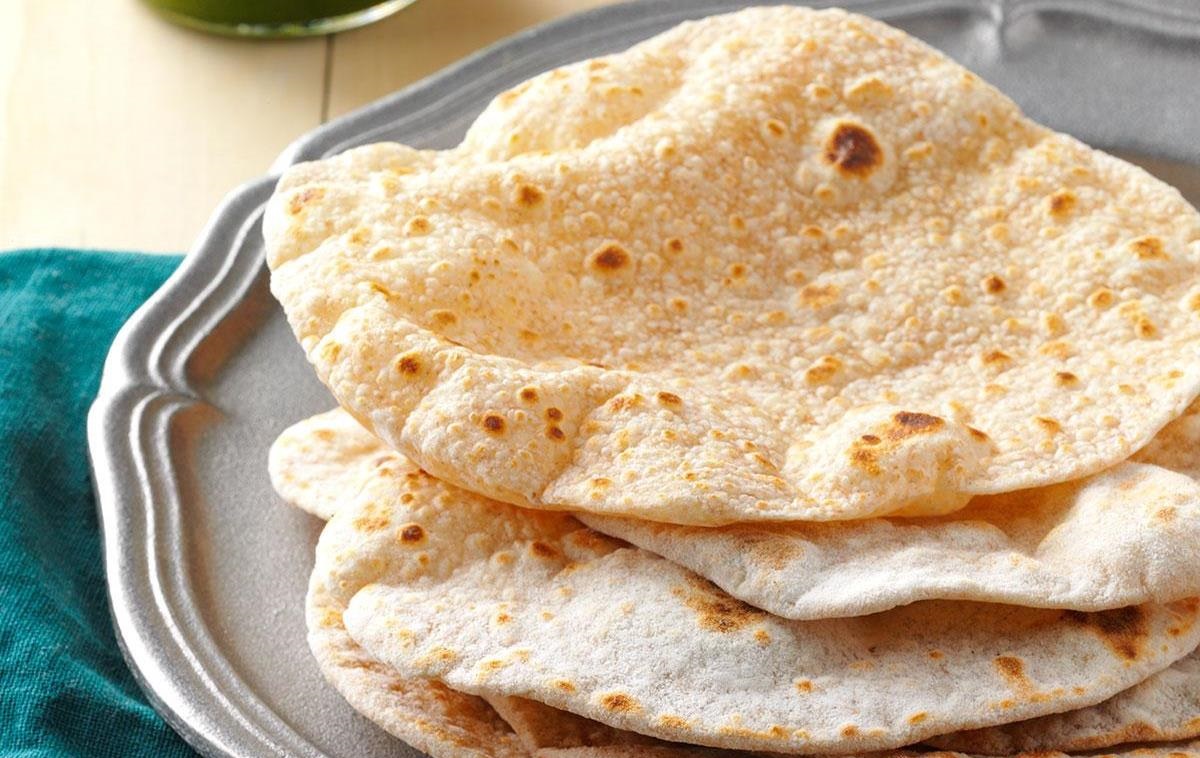
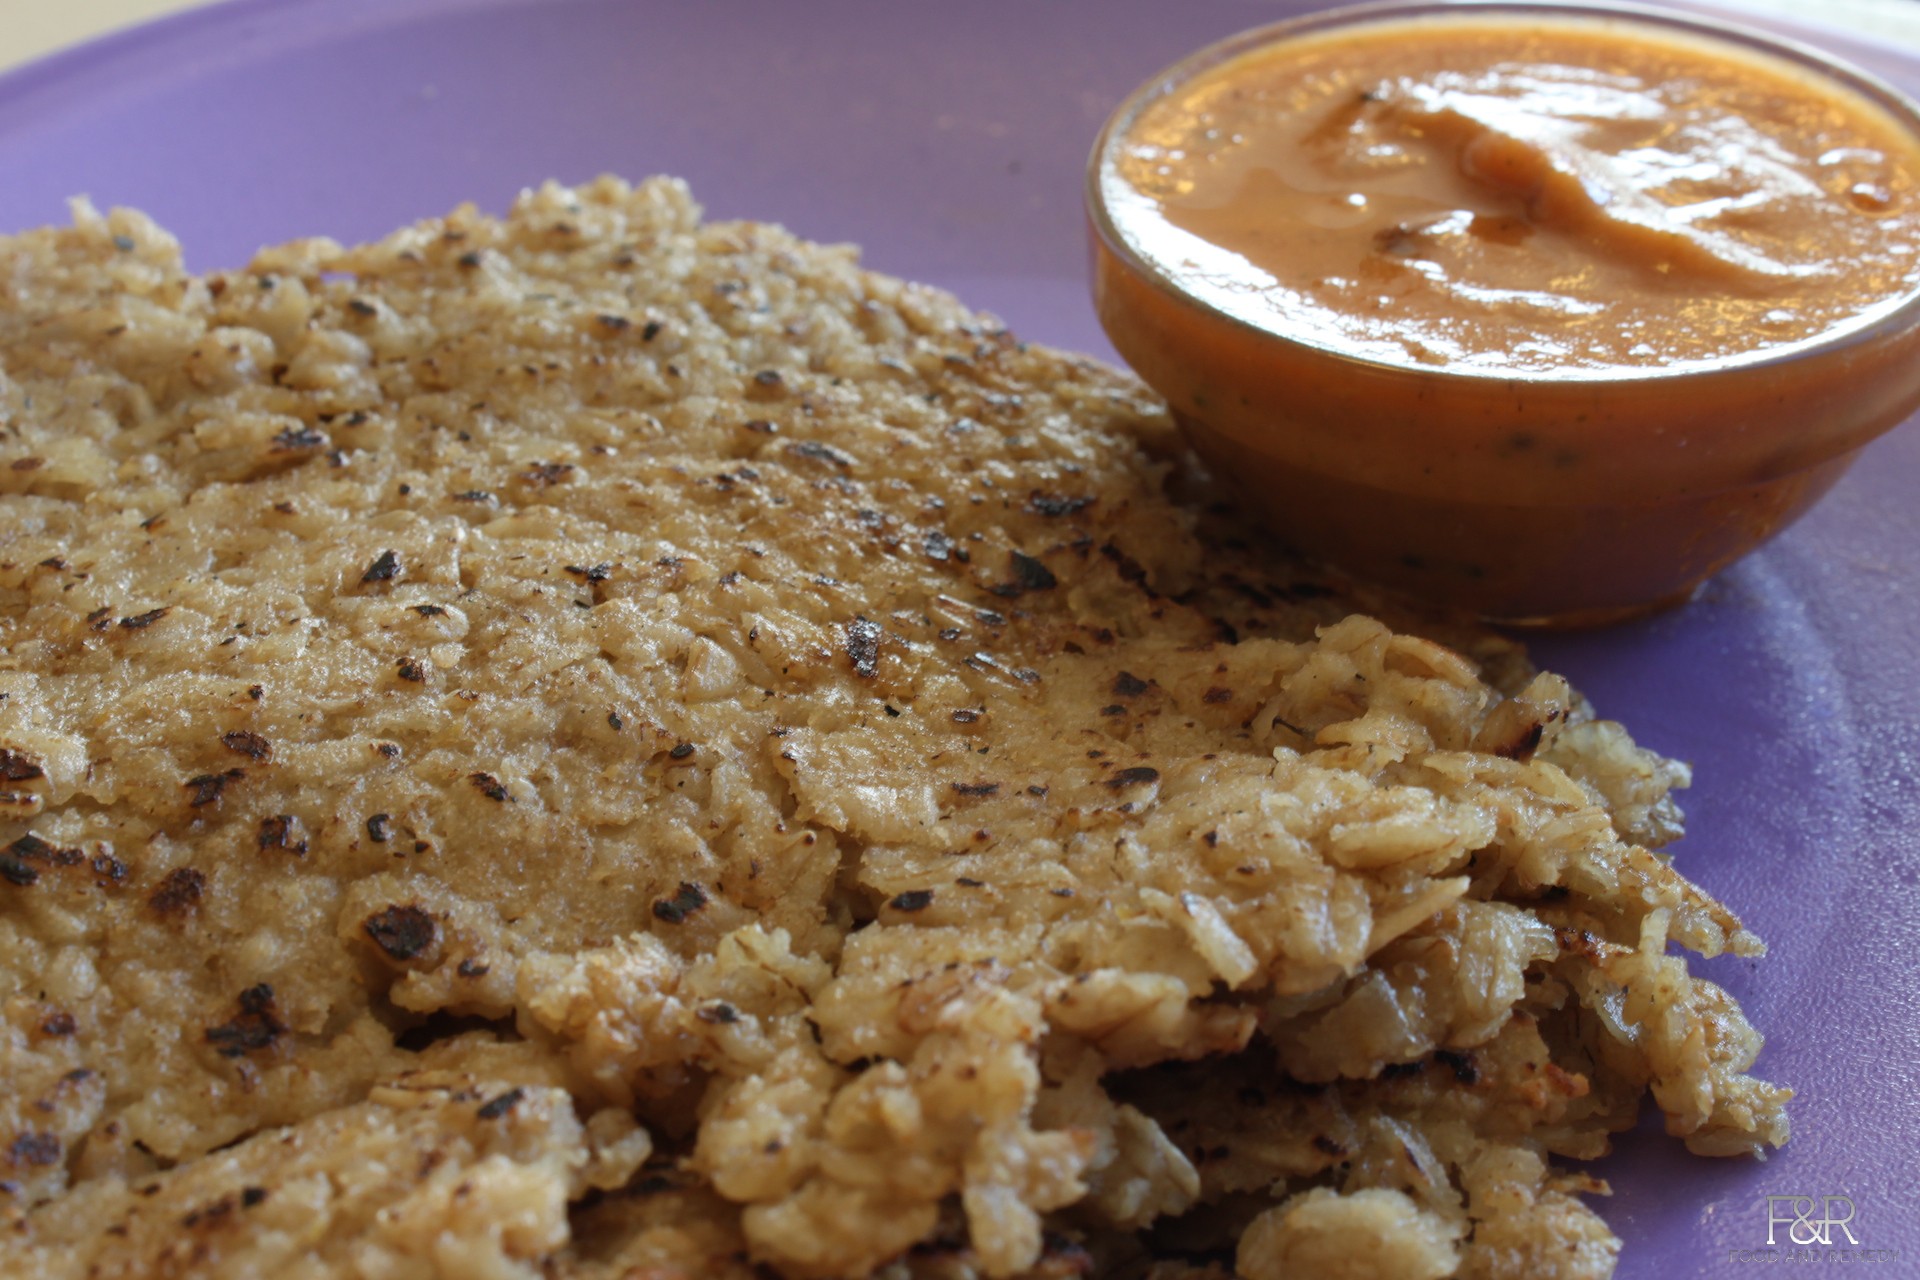
Oats roti, a delectable flatbread originating from the Indian subcontinent, has gained immense popularity worldwide. This wholesome and versatile dish, crafted from the goodness of oats, not only tantalizes the taste buds but also offers a myriad of nutritional benefits.
Its rich fiber content promotes satiety, while its abundance of essential vitamins and minerals supports overall well-being. Embark on a culinary adventure as we delve into the art of preparing this delectable treat, exploring its ingredients, step-by-step instructions, and creative variations.
Whether you’re a seasoned home cook or a novice in the kitchen, this comprehensive guide will empower you to create perfect oats roti every time. With its simple ingredients and straightforward techniques, you’ll be able to savor this flavorful flatbread in the comfort of your own home.
Let’s gather the necessary ingredients and embark on a delightful culinary journey.
Introduction

Oats roti, a nutritious and delectable flatbread, has gained immense popularity due to its exceptional nutritional value and versatility. Made from ground oats, it offers a plethora of health benefits, making it a staple in many health-conscious diets.Oats roti is an excellent source of dietary fiber, both soluble and insoluble, which promotes digestive health and satiety.
It is also rich in essential vitamins and minerals, including iron, zinc, magnesium, and B vitamins. These nutrients contribute to overall well-being, supporting healthy blood sugar levels, boosting immunity, and maintaining a healthy nervous system.
Ingredients and Measurements
To craft a delectable oats roti, you will require a carefully curated selection of ingredients. Let us delve into the specifics:
The foundation of our roti lies in the humble oats. Choose rolled oats for their optimal texture and absorbency. As for the quantities, you will need:
Oats
- 1 cup (150 grams) rolled oats
Beyond oats, several additional ingredients play crucial roles in shaping the flavor and texture of our roti:
Other Ingredients
- 1 cup (240 milliliters) water
- 1 teaspoon salt
- 1 tablespoon (15 milliliters) vegetable oil (optional, for greasing the pan)
Feel free to experiment with optional ingredients to enhance the flavor profile of your roti. Consider adding a pinch of cumin or coriander powder, or a few finely chopped green chilies for a touch of spice.
Step-by-Step s
Preparing oats roti involves a series of well-defined s, each of which contributes to the final outcome. The process can be divided into logical steps to ensure clarity and ease of understanding.
The s are as follows:
Mixing the Ingredients
- Combine the rolled oats, wheat flour, salt, and water in a large bowl.
- Mix the ingredients thoroughly using your hands or a wooden spoon until a dough forms.
Kneading the Dough
- Transfer the dough to a lightly floured surface.
- Knead the dough for 5-7 minutes until it becomes smooth and elastic.
- The dough should not be too sticky or too dry. Add water or flour as needed to achieve the desired consistency.
Dividing and Shaping the Dough
- Divide the dough into equal-sized balls.
- Roll out each ball into a thin, circular roti.
- Use a fork to prick the roti all over to prevent it from puffing up during cooking.
Cooking the Roti
- Heat a griddle or tawa over medium heat.
- Place the roti on the hot griddle.
- Cook the roti for 1-2 minutes per side, or until it is golden brown and cooked through.
Variations and Adaptations
The basic oats roti recipe provides a versatile base that can be adapted to suit various tastes and dietary needs. Here are some ideas to explore:
Toppings and Fillings
- Sprinkle grated cheese or crumbled paneer on top before flipping the roti.
- Add chopped vegetables like onions, peppers, or carrots to the oats mixture.
- Spread a layer of chutney or salsa on one side of the roti.
Flavorings
- Add herbs like cilantro, parsley, or oregano to the oats mixture.
- Stir in spices like cumin, coriander, or turmeric for a savory twist.
- Mix in grated ginger or garlic for a flavorful kick.
Dietary Adaptations
Gluten-Free
- Use gluten-free rolled oats instead of regular oats.
- Substitute wheat flour with gluten-free flour blends.
Vegan
- Use plant-based milk (e.g., almond milk, soy milk) instead of regular milk.
- Replace yogurt with a vegan alternative (e.g., cashew yogurt, coconut yogurt).
- Use vegetable oil or vegan butter for greasing the pan.
Tips and Techniques
Mastering the art of oats roti requires a combination of technique and attention to detail. By following these tips and tricks, you can elevate your roti-making skills and consistently achieve perfect results.
To achieve the ideal texture and consistency, it’s crucial to use finely ground oats. This ensures that the flour absorbs liquid evenly, resulting in a smooth and pliable dough. Additionally, adding a small amount of water or milk to the dough gradually helps prevent it from becoming too dry or crumbly.
Kneading the Dough
Proper kneading is essential for developing the gluten in the oats flour, which gives the roti its characteristic elasticity. Knead the dough for a minimum of 5-7 minutes, or until it becomes smooth and elastic. If the dough is too sticky, add a little more oats flour; if it’s too dry, add a splash of water or milk.
Rolling and Cooking
When rolling out the roti, use a light touch to avoid tearing the dough. Roll it out to a thin and even circle, ensuring that the edges are slightly thinner than the center. Cook the roti on a hot griddle or tawa until golden brown spots appear on both sides, indicating that it’s cooked through.
Presentation and Serving Suggestions
The presentation of oats roti can greatly enhance its appeal. Serve the rotis hot off the griddle, brushed lightly with melted ghee or butter for a glossy finish. Arrange them neatly on a plate or in a basket lined with a clean cloth to retain their warmth.
Accompaniments play a crucial role in complementing the flavors of oats roti. Consider serving them with savory dishes such as curries, stews, or lentil soups. For a lighter meal, pair them with yogurt dips, chutneys, or raitas. These accompaniments provide a contrast in texture and flavor, making each bite a delightful experience.
Creative Serving Ideas
- Oats Roti Tacos: Fill warm oats rotis with your favorite taco fillings, such as seasoned ground beef, shredded chicken, or grilled vegetables, topped with your preferred salsa and guacamole.
- Oats Roti Pizza: Spread a thin layer of tomato sauce or pesto on oats rotis, then top with shredded mozzarella cheese and your choice of vegetables and meats. Bake until the cheese is melted and bubbly.
- Oats Roti Breakfast Burritos: Scramble eggs with your preferred fillings, such as cheese, salsa, and vegetables. Wrap the mixture in warm oats rotis for a portable and satisfying breakfast.
Closing Summary

As you master the art of crafting oats roti, you’ll discover its versatility as a culinary canvas. Experiment with different toppings, fillings, and flavorings to create unique and tantalizing variations. Whether you prefer the classic simplicity of plain oats roti or indulge in creative culinary adventures, this wholesome flatbread is sure to become a staple in your kitchen.
So, don your apron, gather your ingredients, and embark on a delightful journey of flavors and textures. Happy cooking!
FAQs
Can I use instant oats for this recipe?
While instant oats can be used, they may result in a softer roti. For a more traditional texture, it’s recommended to use rolled oats.
How can I make gluten-free oats roti?
Substitute regular oats with certified gluten-free rolled oats and ensure that all other ingredients used are also gluten-free.
Can I store oats roti for later consumption?
Yes, cooked oats roti can be stored in an airtight container at room temperature for up to 2 days or in the refrigerator for up to 5 days. Reheat before serving.
