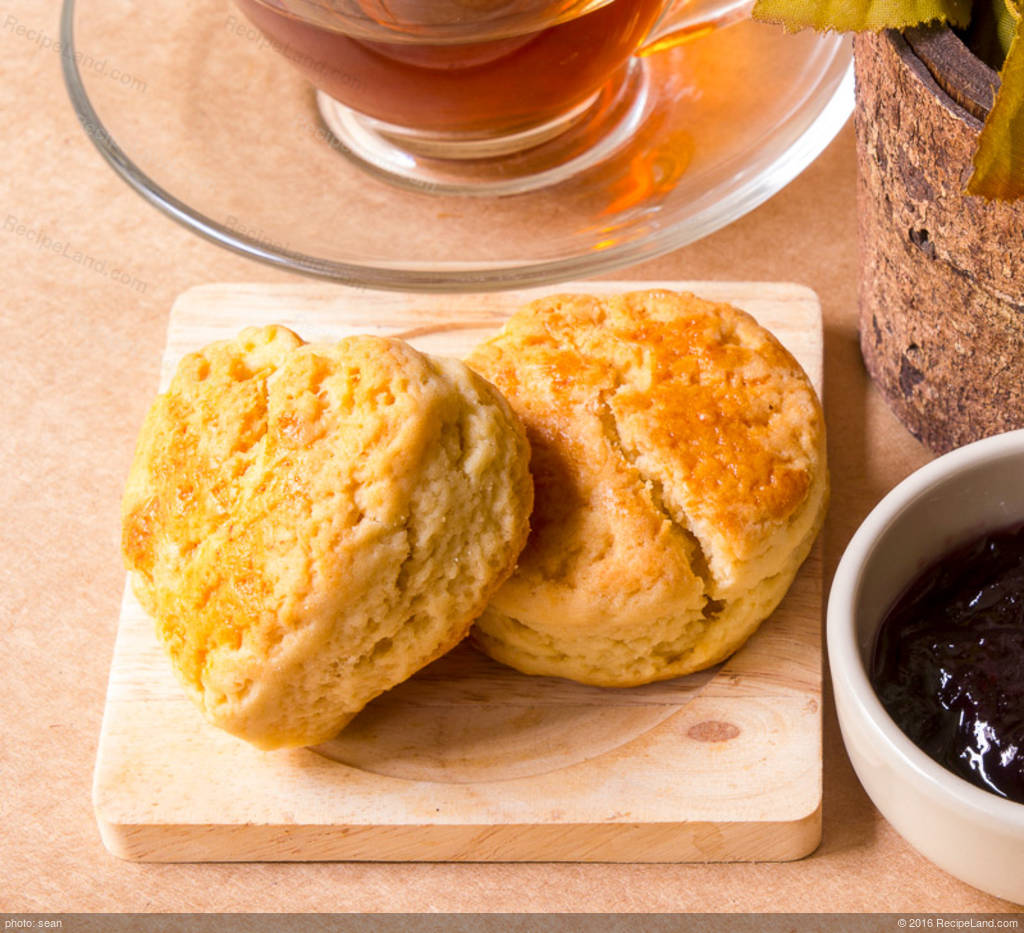
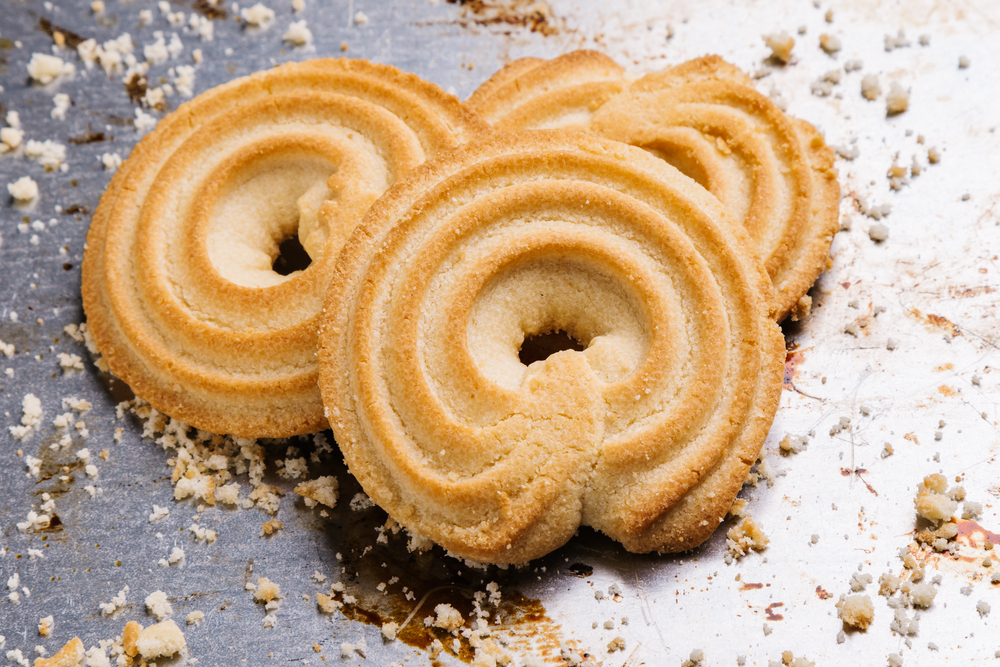
Embark on a culinary journey to the heart of Danish baking with this comprehensive guide to creating delectable Danish pastries. From the meticulous preparation of the dough to the imaginative filling and topping combinations, this exploration will unravel the secrets of these iconic treats, inspiring you to recreate the magic in your own kitchen.
In this guide, we will delve into the intricacies of crafting the perfect Danish dough, exploring the essential ingredients and their precise measurements. We will uncover the secrets of the kneading and resting process, ensuring optimal texture and flavor development.
As we progress, we will master the art of rolling and shaping Danish pastries, discovering the techniques for creating an array of shapes and sizes. From classic crescents to intricate knots, each form holds its own unique charm.
Danish Biscuit Dough

Danish biscuit dough is a versatile and flavorful base for a variety of pastries and desserts. It is made with a combination of flour, butter, sugar, and yeast, and is typically rolled and cut into shapes before baking. The dough is rich and flaky, with a slightly sweet flavor.The
key to making a good Danish biscuit dough is to use high-quality ingredients and to follow the recipe carefully. The dough should be kneaded until it is smooth and elastic, and it should be rested for at least 30 minutes before rolling and cutting.
Essential Ingredients and Measurements
The following are the essential ingredients for making Danish biscuit dough:
- 3 cups (360g) all-purpose flour
- 1 teaspoon (5g) active dry yeast
- 1/2 cup (100g) granulated sugar
- 1/2 teaspoon (2.5g) salt
- 1 cup (240ml) milk, warmed to 110-115°F (43-46°C)
- 1/2 cup (113g) unsalted butter, softened
Kneading and Resting Process
Once the dough has been mixed, it should be kneaded until it is smooth and elastic. This can be done by hand or with a stand mixer fitted with a dough hook. The dough should be kneaded for about 5 minutes, or until it passes the windowpane test.The
windowpane test is a simple way to check if the dough has been kneaded enough. To perform the test, take a small piece of dough and stretch it out until it is thin enough to see through. If the dough can be stretched into a thin, translucent sheet without tearing, it has been kneaded enough.Once
the dough has been kneaded, it should be placed in a lightly greased bowl and covered with plastic wrap. The dough should be allowed to rest for at least 30 minutes, or until it has doubled in size.
Rolling and Shaping
Mastering the techniques of rolling and shaping is crucial for achieving the desired texture and presentation of Danish biscuits. This stage involves carefully handling the chilled dough to create various elegant shapes.
Before rolling, ensure the dough has been adequately chilled to prevent stickiness and ensure a smooth rolling process. On a lightly floured surface, roll out the dough to an even thickness of approximately 3-4 mm.
Creating Crescents
- Cut out circles from the rolled-out dough using a round cookie cutter.
- Make a small incision at the center of each circle.
- Gently fold one side of the circle over the other, aligning the edges.
- Press the edges together to seal and create a crescent shape.
Shaping Circles
- Roll out the dough into a thin, even circle.
- Cut out circles using a cookie cutter or a glass.
- Leave the circles as they are for a simple, classic shape.
Tying Knots
- Roll out the dough into a long, thin rectangle.
- Cut strips of dough approximately 1 cm wide.
- Tie each strip into a simple overhand knot.
- Place the knots on a baking sheet and bake until golden brown.
Filling and Toppings
Danish biscuits offer a canvas for culinary creativity, with a range of fillings and toppings to complement their flaky, buttery texture. Explore the possibilities of fillings like fruit preserves, chocolate, and nuts, and elevate your biscuits with toppings such as sugar, cinnamon, or glaze.
Filling Options
Incorporate a layer of sweetness and flavor into your Danish biscuits by filling them with fruit preserves. Classic options include raspberry, strawberry, or apricot, but feel free to experiment with other favorites. For a decadent treat, spread melted chocolate over the dough before rolling it up.
Alternatively, add a nutty crunch with chopped walnuts or almonds.
Topping Ideas
Elevate the appearance and taste of your Danish biscuits with a variety of toppings. Sprinkle granulated sugar over the dough before baking for a classic and simple touch. For a warm and aromatic flavor, dust the biscuits with ground cinnamon.
If you prefer a glossy finish, brush them with a glaze made from powdered sugar, milk, and vanilla extract.
Incorporating Fillings and Toppings
To incorporate fillings, spread a thin layer over the rolled-out dough before shaping and baking. For toppings, sprinkle or brush them onto the biscuits after they have been cut into desired shapes but before baking. Experiment with different combinations of fillings and toppings to create unique and delectable treats.
Baking and Storage
Baking Danish biscuits requires careful attention to temperature and time to achieve the desired golden-brown crust and flaky texture. Once baked, proper storage is crucial to maintain their freshness and flavor.
Baking Temperature and Time
Preheat your oven to the optimal temperature of 180-200°C (350-400°F) before placing the baking tray inside. Bake the biscuits for approximately 10-15 minutes, or until they have risen and the edges are golden brown. It’s essential to rotate the baking tray halfway through the baking time to ensure even cooking.
Storing Danish Biscuits
To maintain the freshness and flavor of Danish biscuits, store them in an airtight container at room temperature for up to 3 days. For longer storage, freeze the biscuits for up to 2 months. When ready to serve, thaw them at room temperature before reheating in the oven or toaster.
Variations and Creativity

Unleash your inner baker and experiment with these creative ideas for Danish biscuit recipes. From unique flavor combinations to innovative ingredient substitutions, there’s a world of possibilities waiting to be explored.
Let’s delve into the realm of flavor and ingredient substitutions:
Flavor Combinations
- Sweet and Savory: Combine the unexpected by adding savory ingredients like cheese, bacon, or herbs to your sweet biscuit dough.
- Fruitful Delights: Incorporate fresh or dried fruits, such as berries, apples, or apricots, for a burst of natural sweetness and texture.
- Floral Fantasies: Infuse your biscuits with floral flavors by adding edible flowers like lavender, rose petals, or chamomile.
Ingredient Substitutions
- Gluten-Free Flour: For a gluten-free alternative, substitute all-purpose flour with gluten-free flour blends.
- Vegan Butter: Create vegan biscuits by using plant-based butter or margarine instead of dairy butter.
- Honey or Maple Syrup: Replace granulated sugar with natural sweeteners like honey or maple syrup for a touch of extra flavor.
Fillings, Toppings, and Presentation
- Savory Sensations: Fill your biscuits with savory ingredients like cooked vegetables, meats, or cheeses for a satisfying meal.
- Sweet Surprises: Create decadent fillings using jams, preserves, or fruit compote for a burst of sweetness.
- Artistic Appeal: Experiment with different presentation styles, such as cutting your biscuits into shapes or arranging them in unique patterns.
Last Word
With a newfound mastery of Danish pastry fundamentals, let your creativity flourish. Experiment with a myriad of fillings and toppings, unlocking a world of flavor combinations. From the sweet embrace of fruit preserves to the rich indulgence of chocolate or the nutty crunch of caramelized almonds, the possibilities are endless.
As you delve deeper into the art of Danish pastry, you will discover a treasure trove of unique variations, toppings, and presentation styles, each adding a personal touch to this beloved culinary tradition.
FAQ
What is the key to achieving a flaky and tender Danish pastry?
The secret lies in the intricate layering of the dough. By repeatedly folding and rolling the dough with cold butter, you create countless thin layers that separate during baking, resulting in the characteristic flakiness and tenderness.
How long should I knead the Danish dough?
Kneading the dough for an extended period can develop the gluten, resulting in a tough pastry. Instead, focus on gently kneading the dough just until it comes together, avoiding overworking it.
What is the ideal temperature for proofing Danish pastries?
The ideal proofing temperature for Danish pastries is between 70-80°F (21-27°C). This temperature allows the yeast to activate and the dough to rise without becoming too warm and compromising the flakiness.
How can I prevent my Danish pastries from burning?
To prevent burning, rotate the baking tray halfway through the baking time. This ensures even cooking and prevents the edges from over-browning while the center remains uncooked.
What are some creative filling ideas for Danish pastries?
Explore a world of flavors by experimenting with fillings such as homemade fruit compotes, decadent chocolate ganache, or a savory combination of caramelized onions and goat cheese. Let your imagination guide you and create unique and unforgettable taste sensations.
